

I am not a little girl for a long time, and I have my own children. But sometimes I really want to have such a good fairy godmother. She would hug and say : ” If you’d lost all your faith, I couldn’t be here. And here I am Fairy Godmother” So take your crochet hook and …Bibbidi Bobbidi Boo…)))

You can use the ornament for making the Disney pin, magnet, hairpin or backpack clip. You can also use it for decoration of gift, tag for suitcase in cruise, jewelry (using thinner yarn), bookmarks.
Other Free patterns in my blog:

4th July Owl Coaster Sharks Bag Peter Pan Mouse
Or you can whip up and attach to gift tags on gifts for all the Disney fans in your life, and it will be a massive hit.
PATTERN.
Materials:
- Any cotton 100% Weight/Yardage 50g/137yds: Cascade Ultra Pima Fine, 100% cotton or Schachenmayr Catania, etc.
- Size D/3 (3 mm) crochet hook
- Tapestry needle
- Scissors
- Get the Pattern Bundle that includes all 95 Christmas, autumn, princesses, Valentine, superheroes ,Winnie the Pooh, Wizard of Oz, Star Heroes and many others Mouse ornaments HERE

Abbreviations (US terms):
ch – chain
st st – slip stitch
sc – single crochet
dc – double crochet
sk – skip
st(s) – stitch(es)
Skill Level: Easy
Instructions.
Head.
Round 1: Magic ring with light blue color, 6 sc in ring and pull tight. (6 sts)
Round 2: 2 sc in each chain stitch around. (12 sts)
Round 3: 2 sc in each chain stitch around. (24 sts). Move marker.

Round 4: sc in each chain stitch around. (24 sts). Move marker.
Round 5: *2 sc in next st, 1 sc in next st* repeat around. (36 sts). Move marker.
Round 6: sc in each chain stitch around. (36 sts). Move marker.
Round 7: *2 sc in next st, 1 sc in next st* repeat around. (54 sts). Move marker.
Round 8: sc in each chain stitch around. (54 sts).
Make 2 heads.
Ears.
Round 1: Magic ring with blue color, 6 sc in ring and pull tight. (6 sts)
Round 2: 2 sc in each chain stitch around. (12 sts)
Round 3: 2 sc in each chain stitch around. (24 sts)
Round 4: sc in each chain stitch around. (24 sts)
Then 5 sc and ss. Break yarn and fasten off.
Make 4 ears.
Bow.
Magic ring with bright pink color yarn, 6 ch, 6 dtr into the ring, 6 ch, ss, 6 ch, 6 dtr into the ring, 6 ch, ss, break yarn. Pull tight and use ends to shape the bow.
Floppy tie ends.
1st.
Row 1: Chain 9 with bright pink color yarn, sc in the 2nd st from the hook, sc in the next st, hdc in the next 3 sts, dc in the next 3 sts. Break yarn and fasten off.
2nd.
Row 1: Chain 10 with bright pink color yarn, sc in the 2nd st from the hook, sc in the next 2 sts, hdc in the next 3 sts, dc in the next 3 sts. Break yarn and fasten off.
Cloak.
Round 1: Magic ring with blue color, chain 3, 12 dc in the ring and pull tight. Turn.
Row 2: Ch 3, 1 dc in the same st, *2 dc in next st* repeat 11 times. Turn.
Row 3: Ch 4, 2 tr in the same st, 1 tr in the next st, 1 tr and 1 dc in the next st, *1 dc in next st, 2 dc in next st * repeat 8 times, 1 dc in the next st, 1 dc and 1 tr in the next st, 1 tr in the next st, 2 tr in the last st. Break yarn and fasten off.
Assembling
Sew the ears to the head with blue color yarn (skip 7 sts between the ears). Sew the cloak using blue color yarn.

Sew the bow and ties to the cloak with bright color yarn. So you have 2 heads with ears: one head is with decoration, other is just plain. Sew 2 heads together using needle, light blue and blue color yarn.


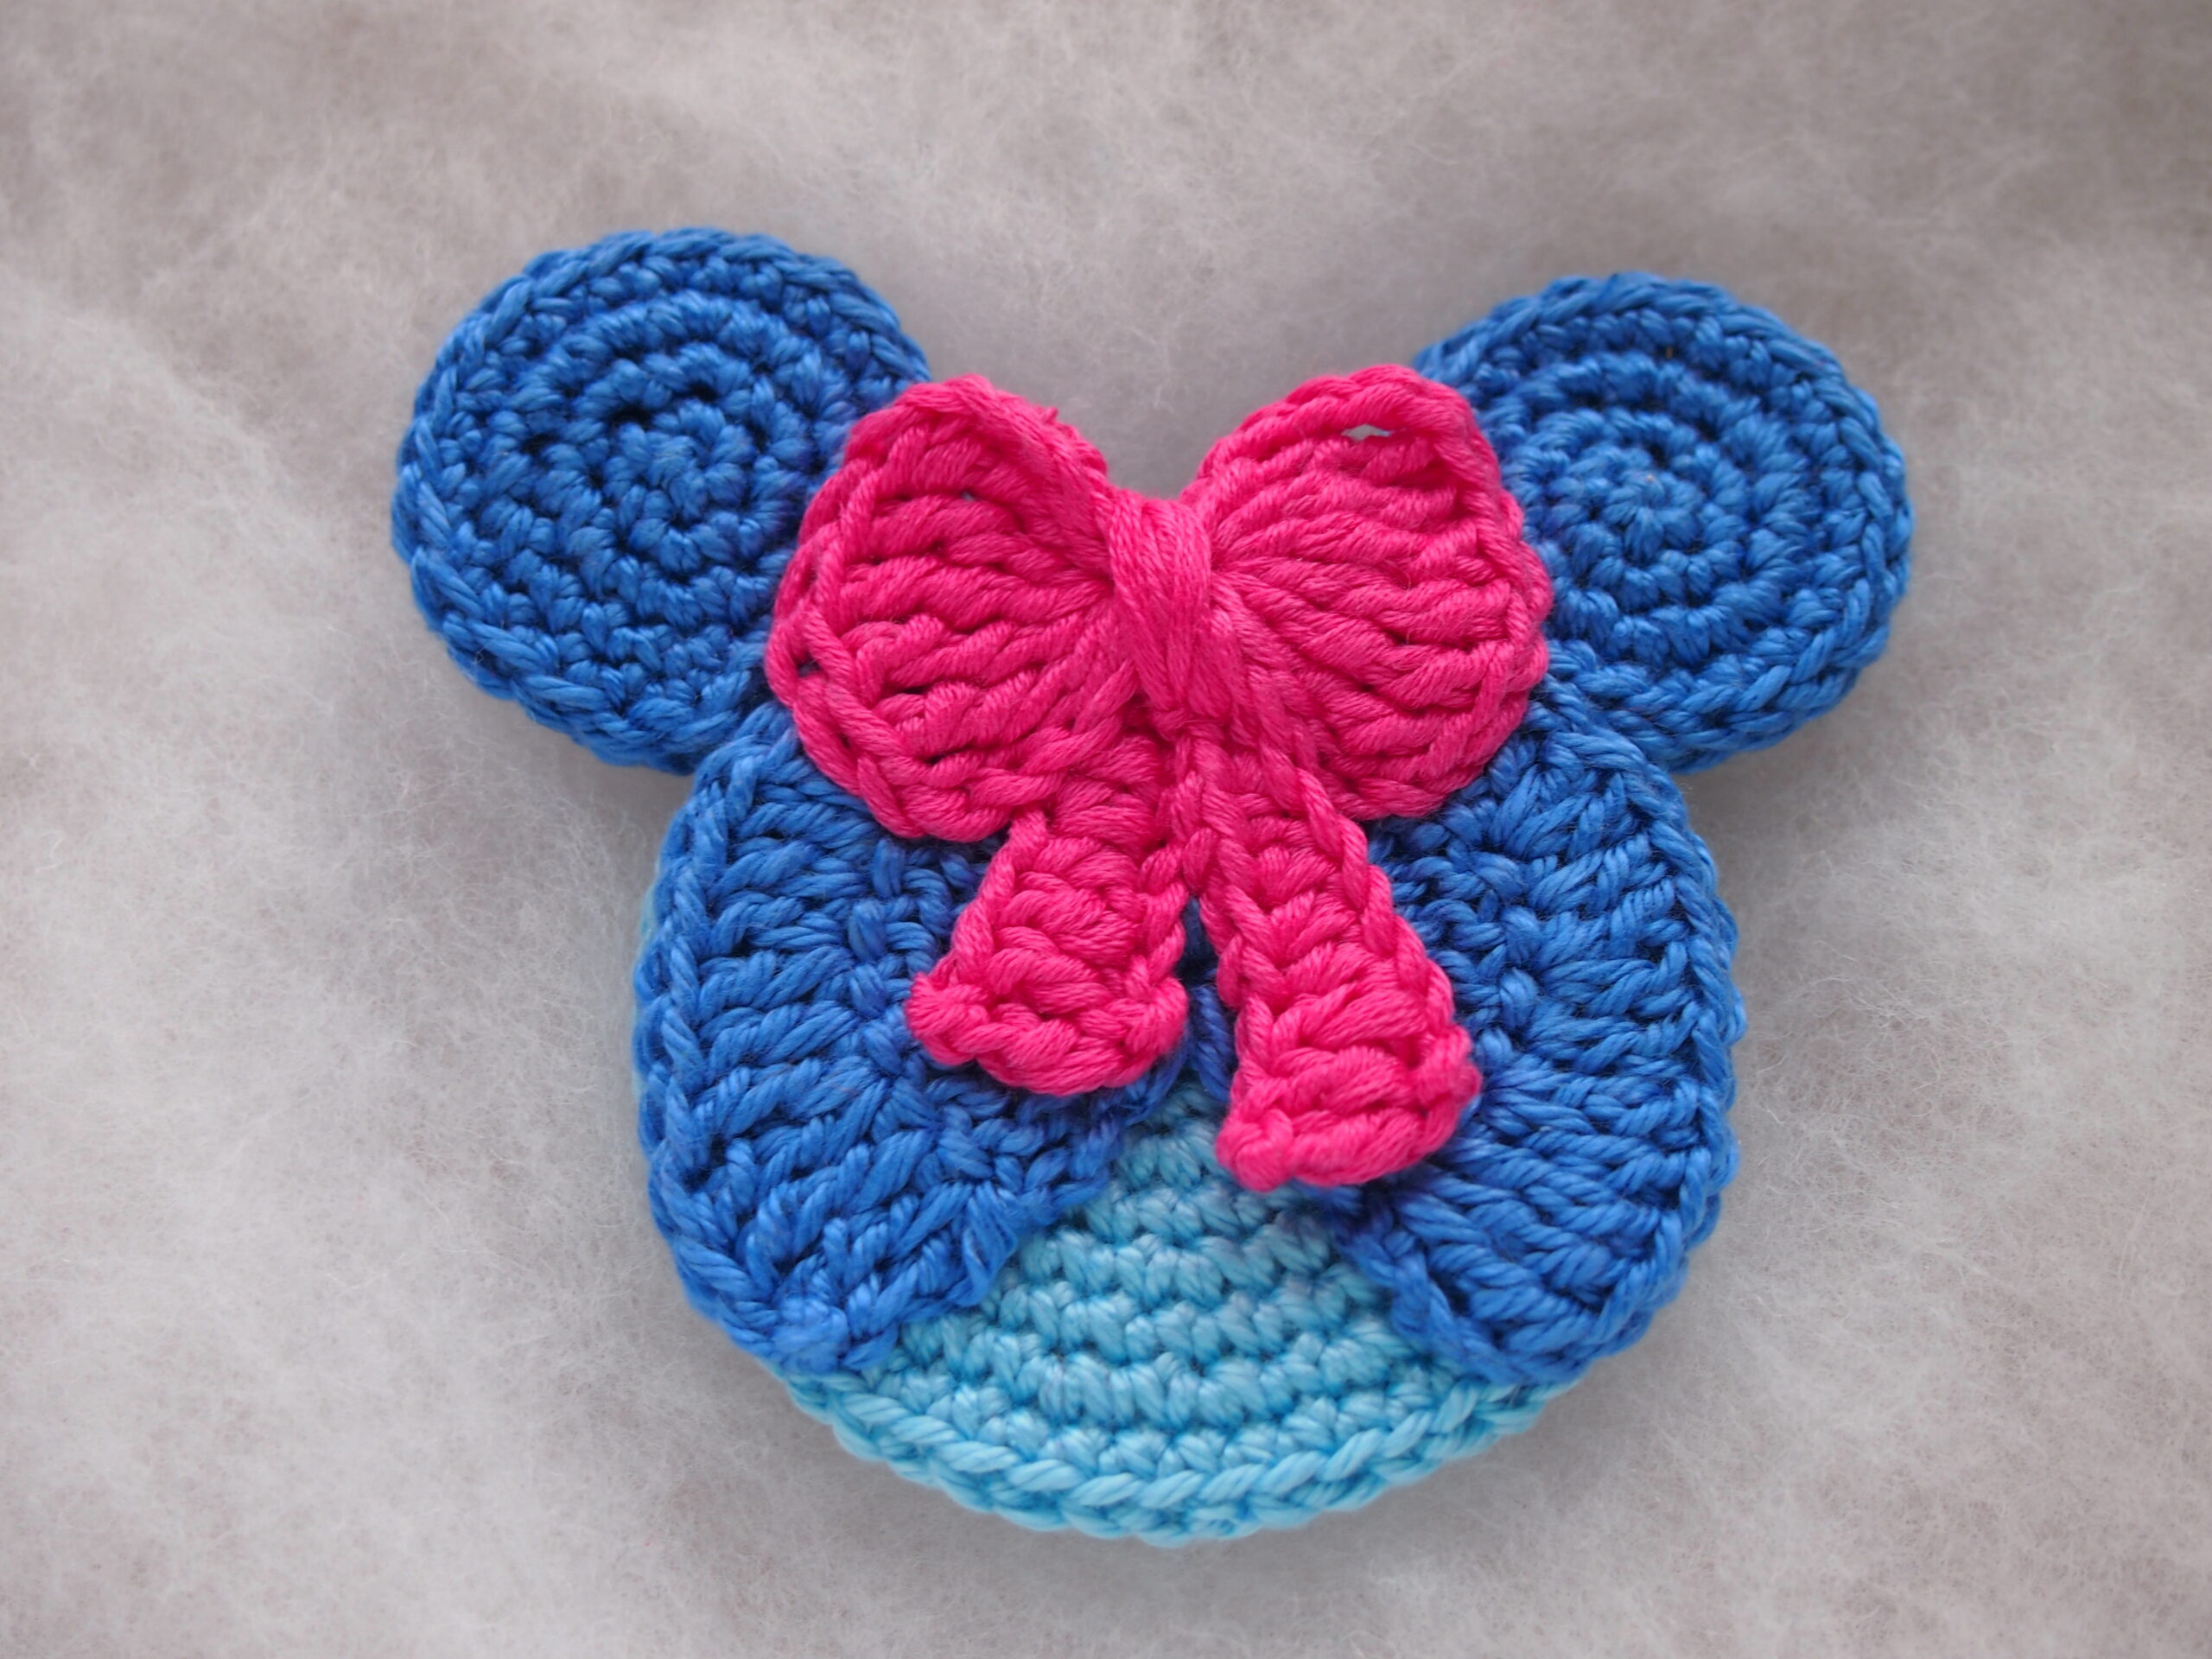
![]()

Hope this is what you ended up with! If you need help with the pattern or you have other questions please leave a comment here on my blog!
Looking for more patterns? Follow me on Facebook, Instagram, and Pinterest! Please share a pic of your finished product with me. I’d love to see it!
