
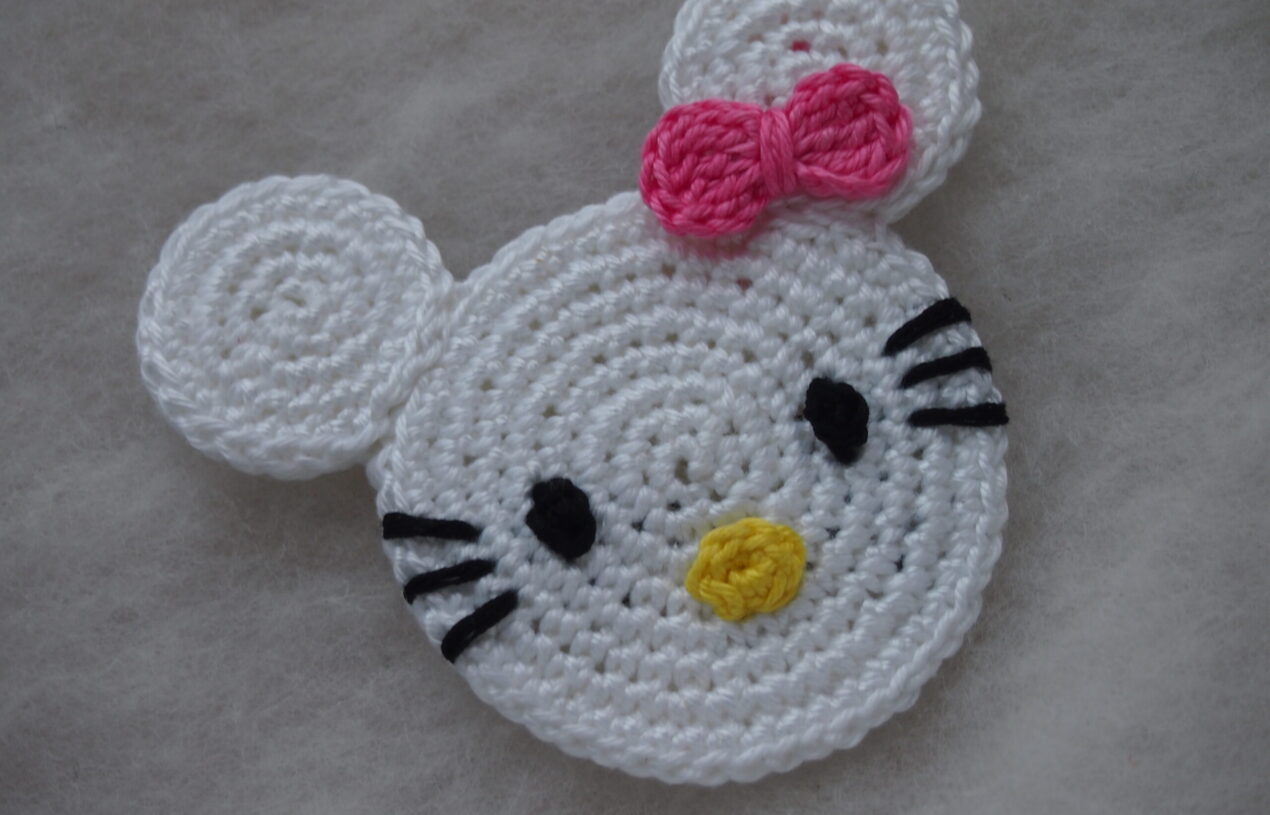
All children like kittens. But my girl adores mouses (she goes to bed only with her small mouse). I think you can understand now why I have so many Mouse patterns. But there is one kitten she likes a lot – Hello Kitti. Some times ago I decided to unite mouse with kitten and got Hello Mouse. Share the pattern with you today.
This and other Mouse ornaments are the perfect, handmade addition for you to work up and add to your Christmas decorations. Children will love them from year to year and can enjoy decorating the tree since they aren’t breakable!
You can use the ornament for making the Disney pin, magnet, hairpin or backpack clip. You can also use it for decoration of Christmas tree, tag for suitcase in Disney cruise, jewelry (using thinner yarn), bookmarks.
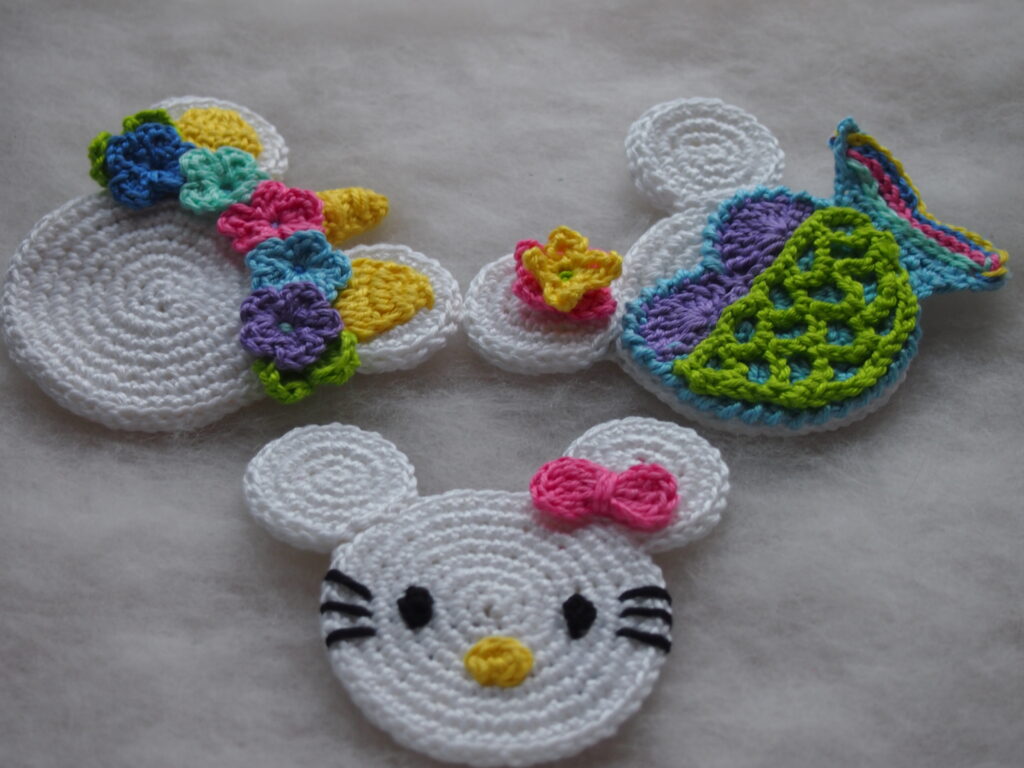
Other Mouse patterns in my blog:
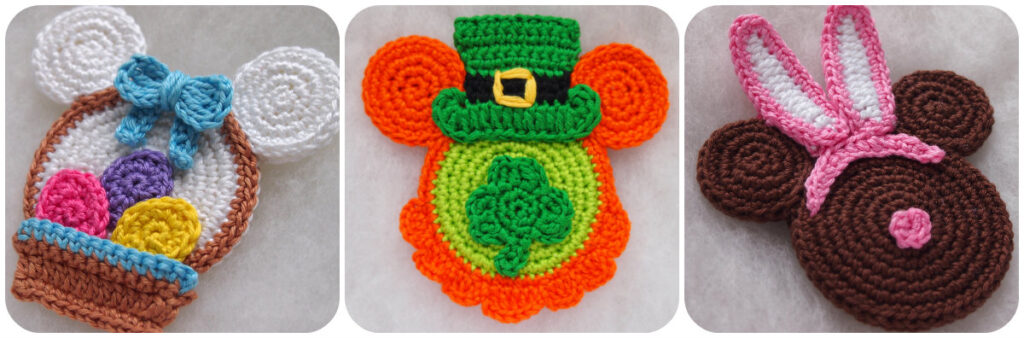
Easter Basket St Patrick Day Mouse Easter Bunny
Or you can whip up and attach to gift tags on gifts for all the Disney and Hello Kitty fans in your life, and it will be a massive hit.

PATTERN.
Materials:
- Any cotton 100% Weight/Yardage 50g/137yds: Cascade Ultra Pima Fine, 100% cotton or Schachenmayr Catania, etc.
- Size D/3 (3 mm) crochet hook
- Tapestry needle
- Scissors
Abbreviations (US terms):
ch – chain
st st – slip stitch
sc – single crochet
dc – double crochet
sk – skip
st(s) – stitch(es)
Skill Level: Easy
- Get the Pattern Bundle that includes 59 Christmas, autumn, princesses, superheroes and Winnie the Pooh ornaments HERE

or the Discount Package HERE

Instructions.
Head.
Round 1: Magic ring with red color, 6 sc in ring and pull tight. (6 sts)
Round 2: 2 sc in each chain stitch around. (12 sts)
Round 3: 2 sc in each chain stitch around. (24 sts). Move marker.
Round 4: sc in each chain stitch around. (24 sts). Move marker.
Round 5: *2 sc in next st, 1 sc in next st* repeat around. (36 sts). Move marker.
Round 6: sc in each chain stitch around. (36 sts). Move marker.
Round 7: *2 sc in next st, 1 sc in next st* repeat around. (54 sts). Move marker.
Round 8: sc in each chain stitch around. (54 sts). Break yarn and fasten off.

Make 2 heads.
Ears.
Round 1: Magic ring with violet color, 6 sc in ring and pull tight. (6 sts)
Round 2: 2 sc in each chain stitch around. (12 sts)
Round 3: 2 sc in each chain stitch around. (24 sts)
Round 4: sc in each chain stitch around. (24 sts)
Then 5 sc and ss. Break yarn and fasten off.
Make 4 ears.
Bow.
Magic ring with the pink color. 3 ch, 2 dc, 2 ch, sc, 2ch, 2 dc, 3ch, ss. Break yarn and fasten off.
Eyes.
Round 1(first and only): Magic ring with black color yarn, 4 sc in the ring. Break yarn and pull tight.
Make 2 eyes.
Nose.
Round 1(first and only): Magic ring with yellow color yarn, 8 sc in the ring. Break yarn and pull tight.
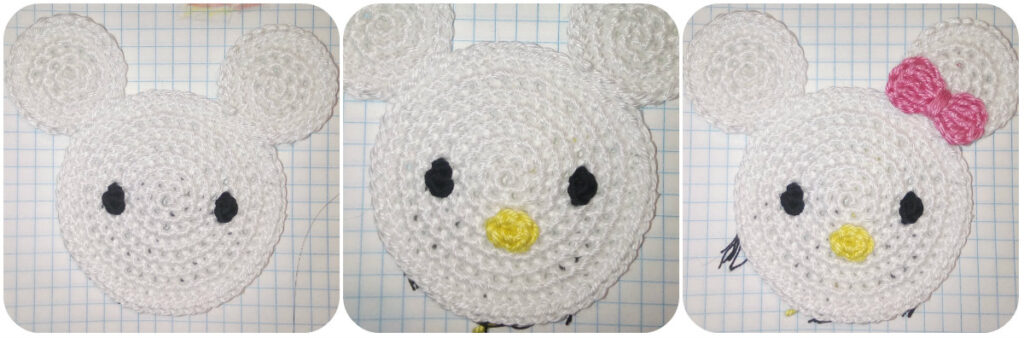
Assembling.
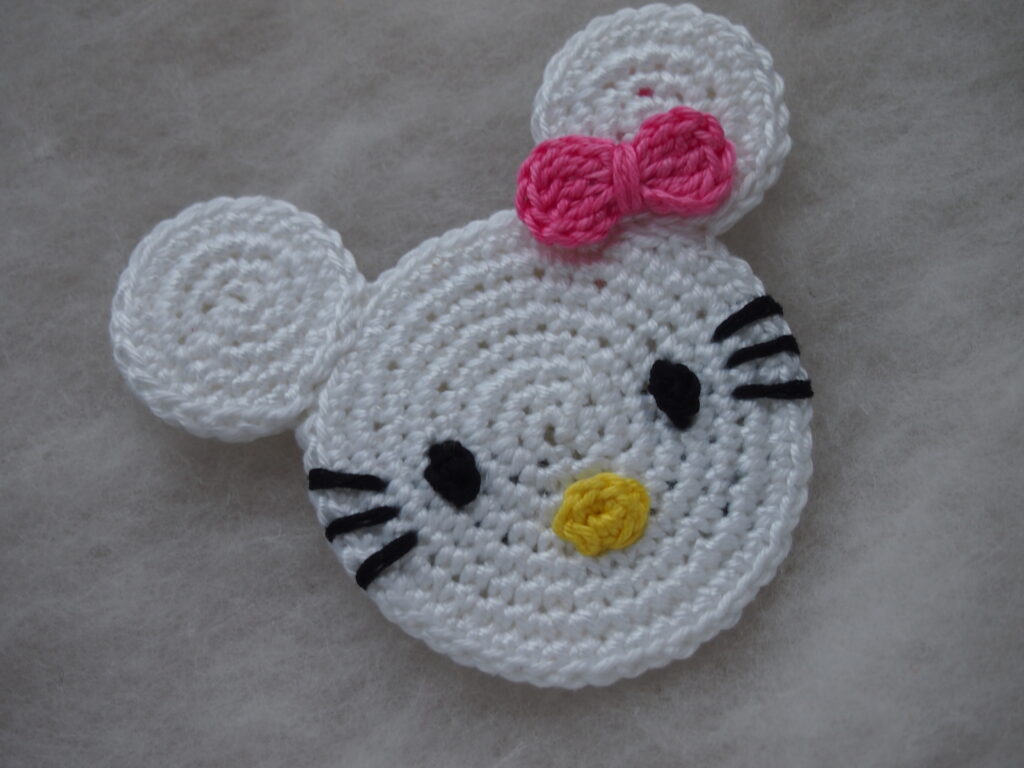
Sew the ears to the heads using white color yarn. Sew the eyes with black color yarn. Sew the nose with the yellow color yarn. And then sew the bow with the pink color yarn.
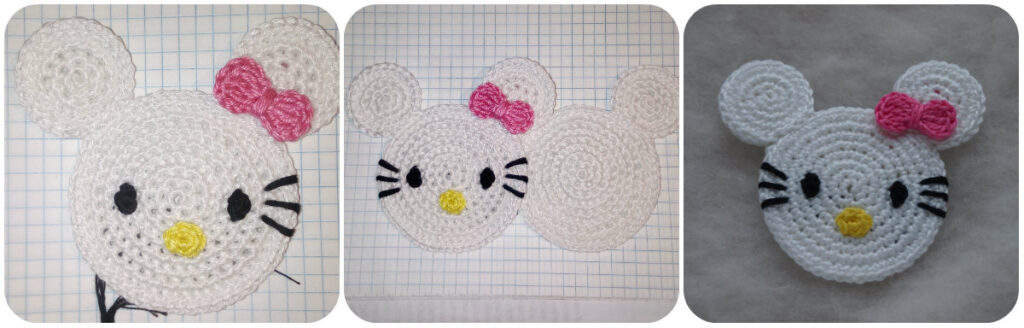
Embroider the moustache with black color yarn as you can see at the picture below.
So you have 2 heads with ears: one head is with decoration, other is plain. Sew 2 heads together using needle and white color yarn.

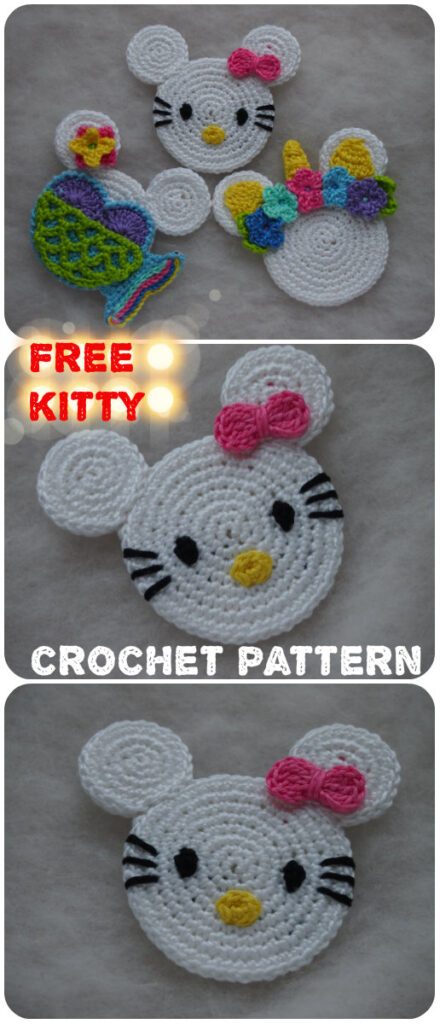
Hope this is what you ended up with! If you need help with the pattern or you have other questions please leave a comment here on my blog!
Looking for more patterns? Follow me on Facebook, Instagram, and Pinterest! Please share a pic of your finished product with me. I’d love to see it!
