
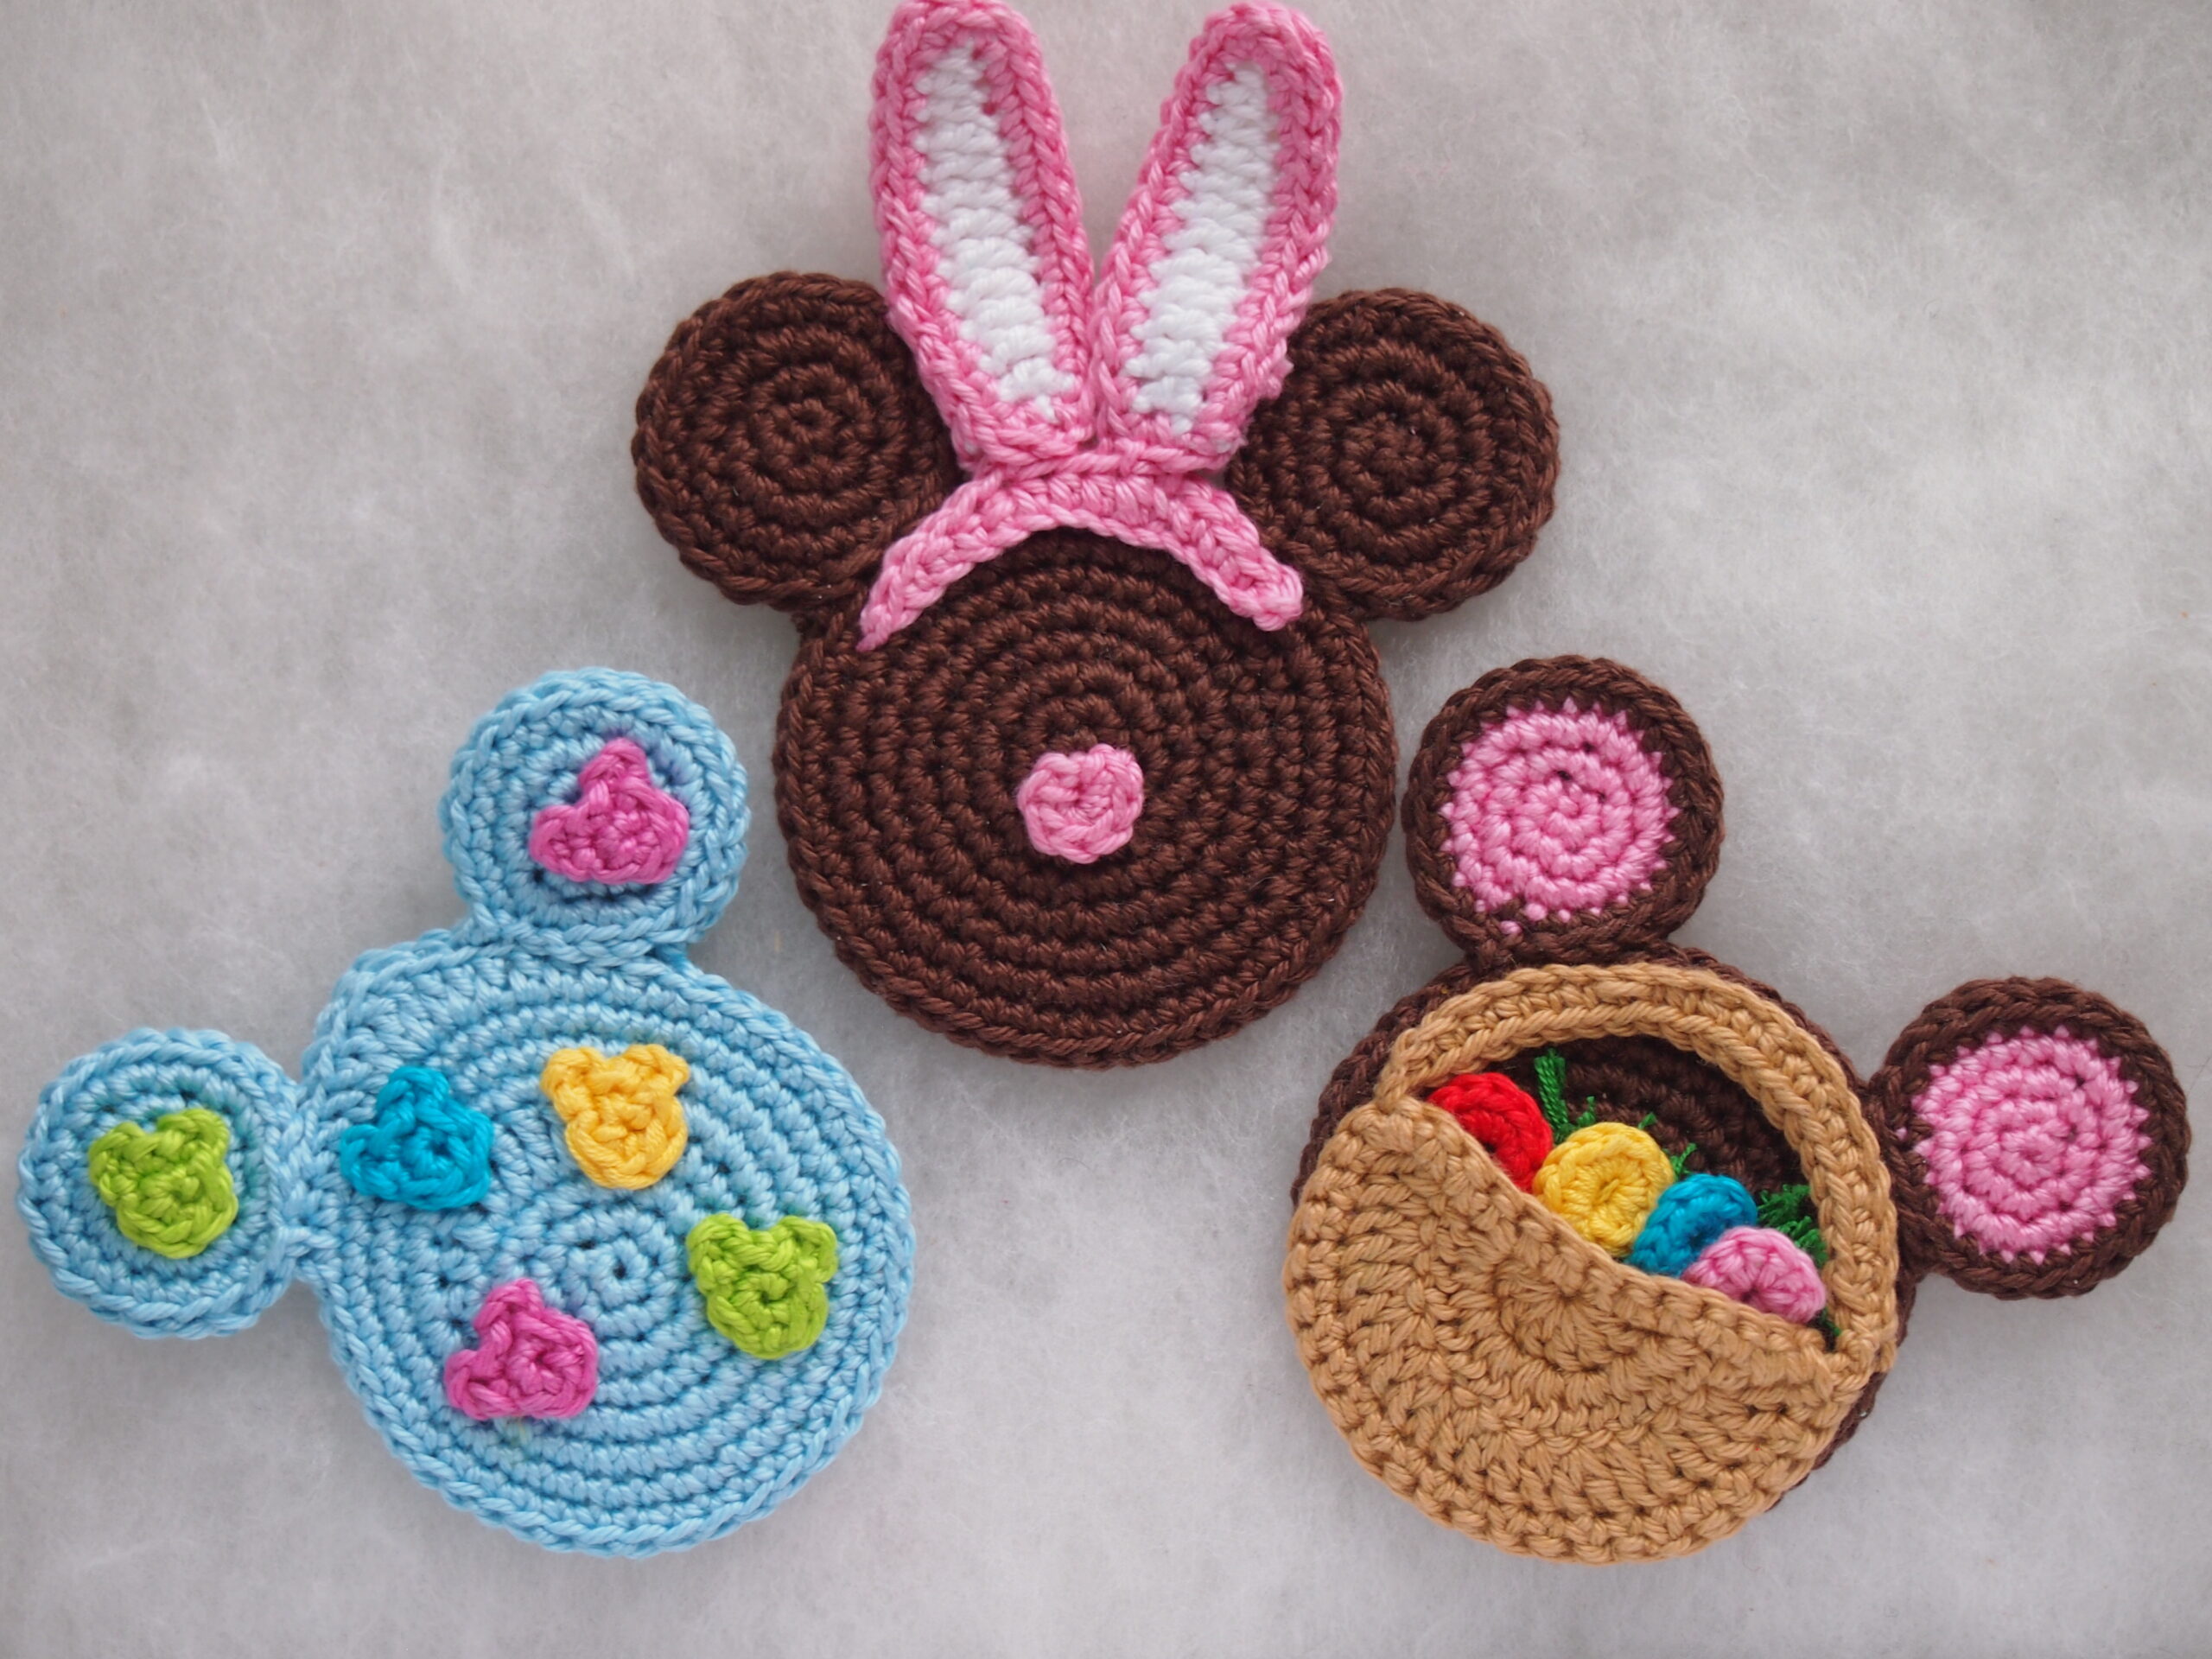
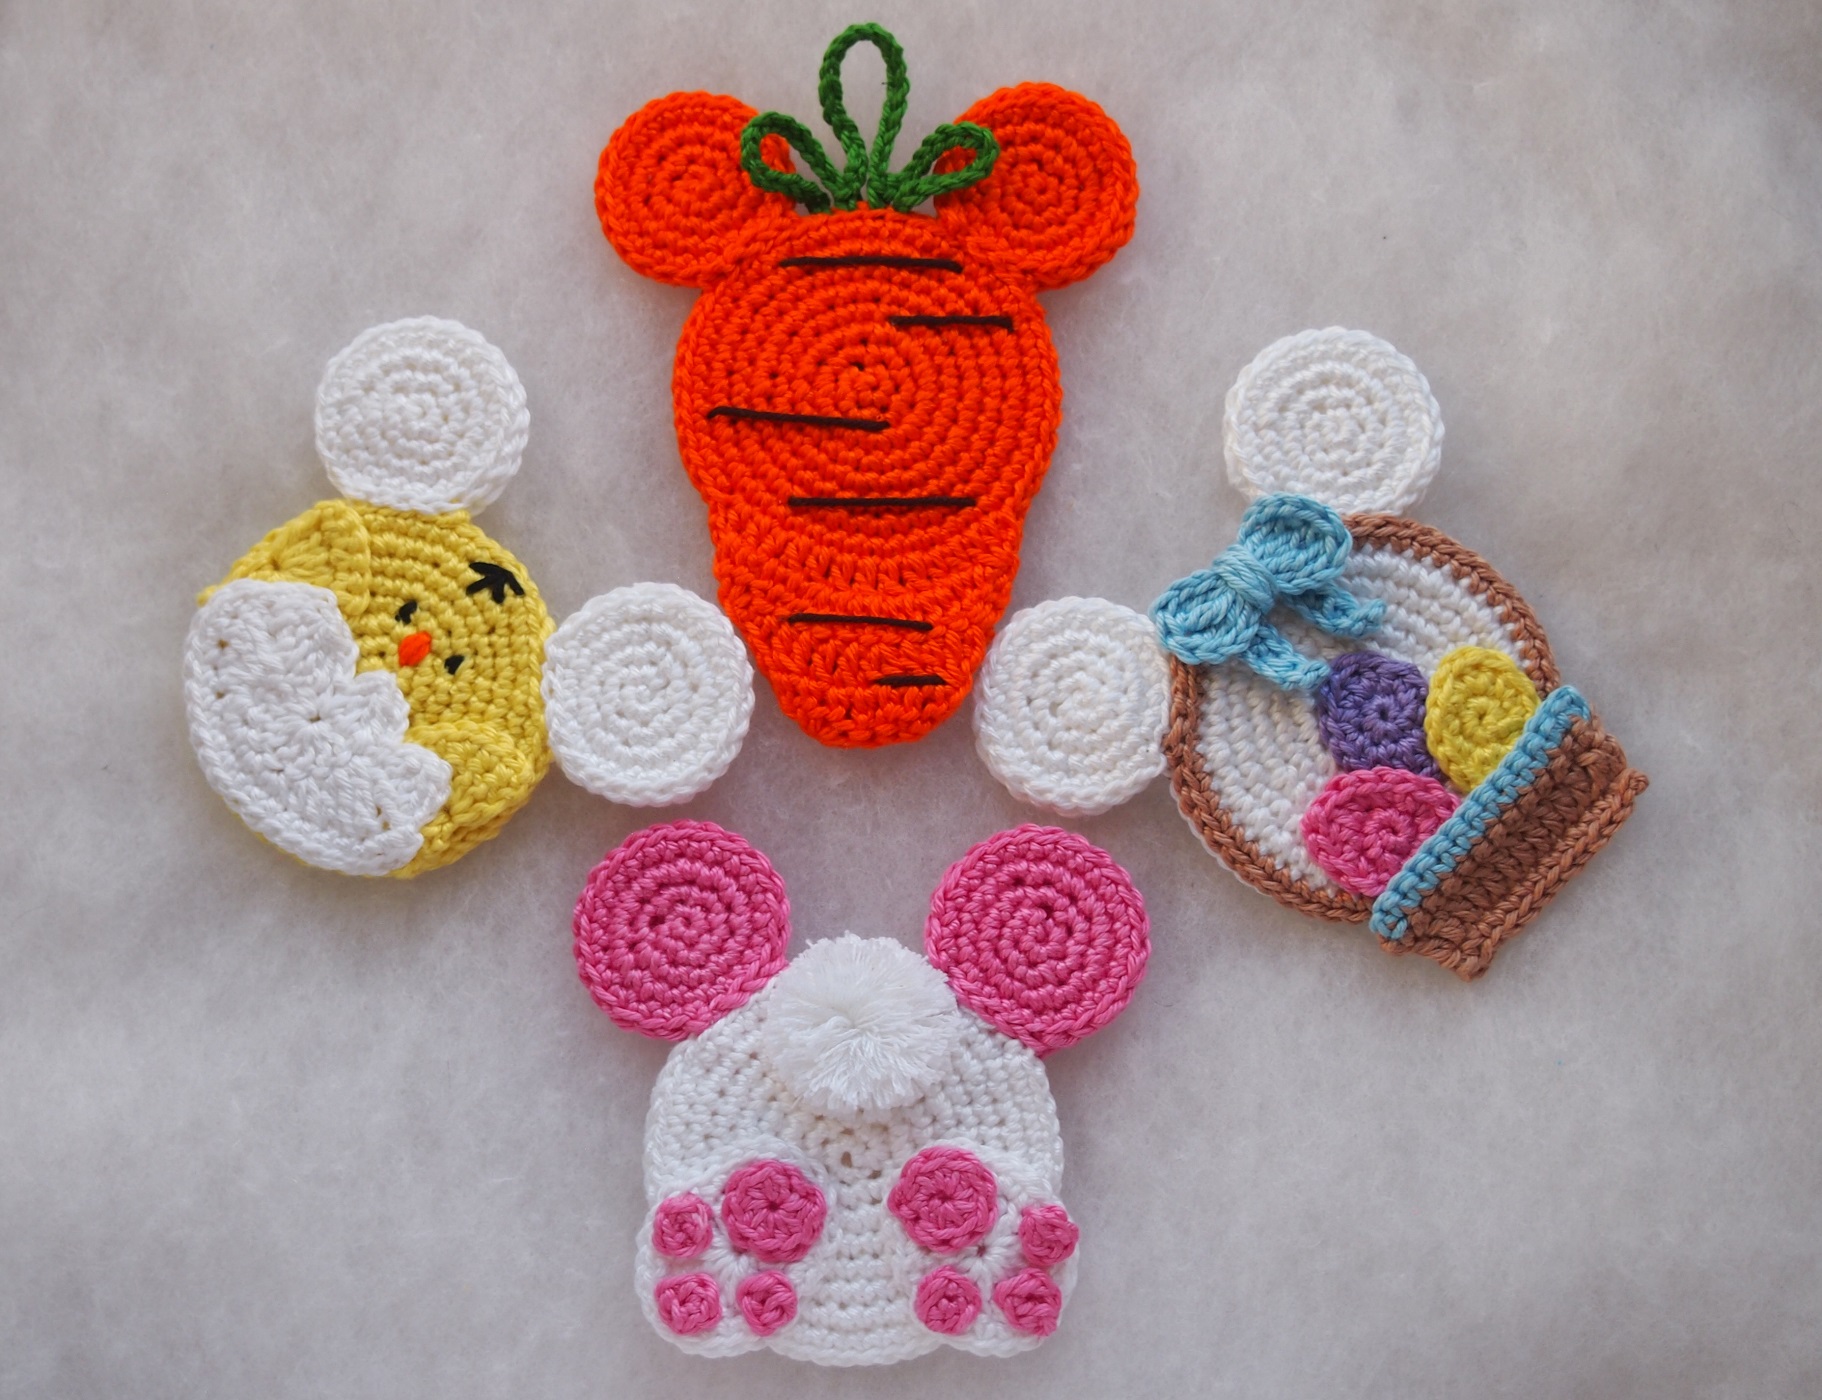
My kids adore Christmas and Easter. That’s why I have a lot of Christmas Mouse ornaments and some Easter ornaments too. And as now is spring time and the Easter will coming soon today I’m posting the Easter Bunny.
You can use the ornament for making the Easter brooch, hairpin or backpack clip.
You can also use it for decoration of Christmas tree, making magnets, tag for suitcase in Disney cruise, jewelry (using thinner yarn), bookmarks.
Other Free patterns in my blog:

Valentine Mouse Baby Shark and His Family Teddy Bear Bag
Or you can whip up and attach to gift tags on gifts for all the Disney fans in your life, and it will be a massive hit.
Materials:
- Any cotton 100% Weight/Yardage 50g/137yds: Cascade Ultra Pima Fine, 100% cotton or Schachenmayr Catania, etc.
- Size D/3 (3 mm) crochet hook
- Tapestry needle
- Scissors
Abbreviations (US terms):
ch – chain
st st – slip stitch
sc – single crochet
dc – double crochet
sk – skip
st(s) – stitch(es)
hdc – half double crochet
Skill Level: Easy
- Get the Pattern Bundle that includes 130 Christmas, autumn, princesses, Valentine, superheroes ,Winnie the Pooh, Wizard of Oz, Star Heroes and many others Mouse ornaments HERE

Instructions.
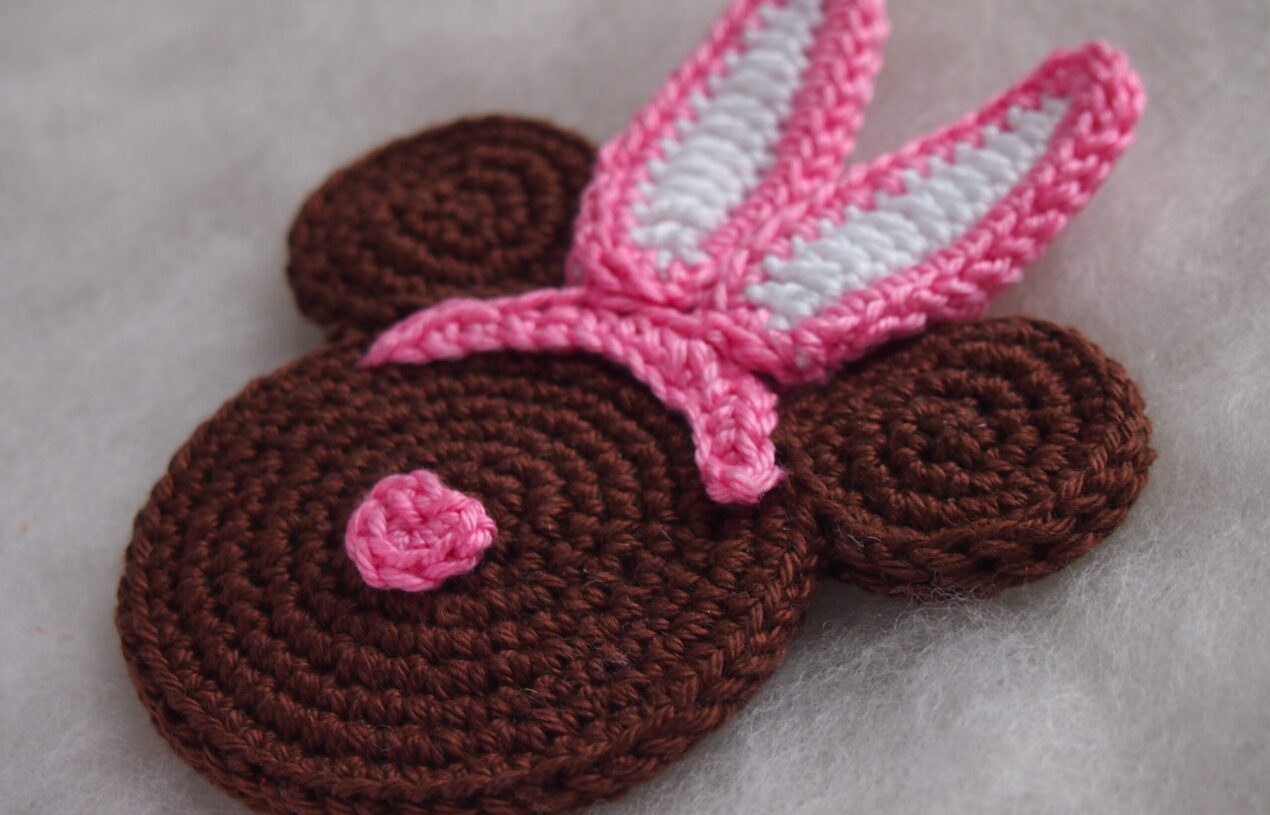
Head.
Round 1: Magic ring with brown color, 6 sc in ring and pull tight. (6 sts)
Round 2: 2scin each chain stitch around. (12 sts)
Round 3: 2scin each chain stitch around. (24 sts). Move marker.
Round 4:scin each chain stitch around. (24 sts). Move marker.
Round 5: *2 sc in next st, 1sc in next st*repeat around. (36 sts). Move marker.
Round 6:sc in each chain stitch around. (36 sts). Move marker.
Round 7: *2 sc in next st, 1sc in next st*repeat around. (54 sts). Move marker.
Round 8:sc in each chain stitch around. (54 sts). Break yarn and fasten off.
Make 2 heads.
Ears.
Round 1: Magic ring with brown color, 6 sc in ring and pull tight. (6 sts)
Round 2: 2 sc in each chain stitch around. (12 sts)
Round 3: 2 sc in each chain stitch around. (24 sts)
Round 4:sc in each chain stitch around. (24 sts)
Then 5 sc and ss. Break yarn and fasten off.
Make 4 ears.
Round 1: Magic ring with pink color, 8sc in ring and pull tight. Break yarn.
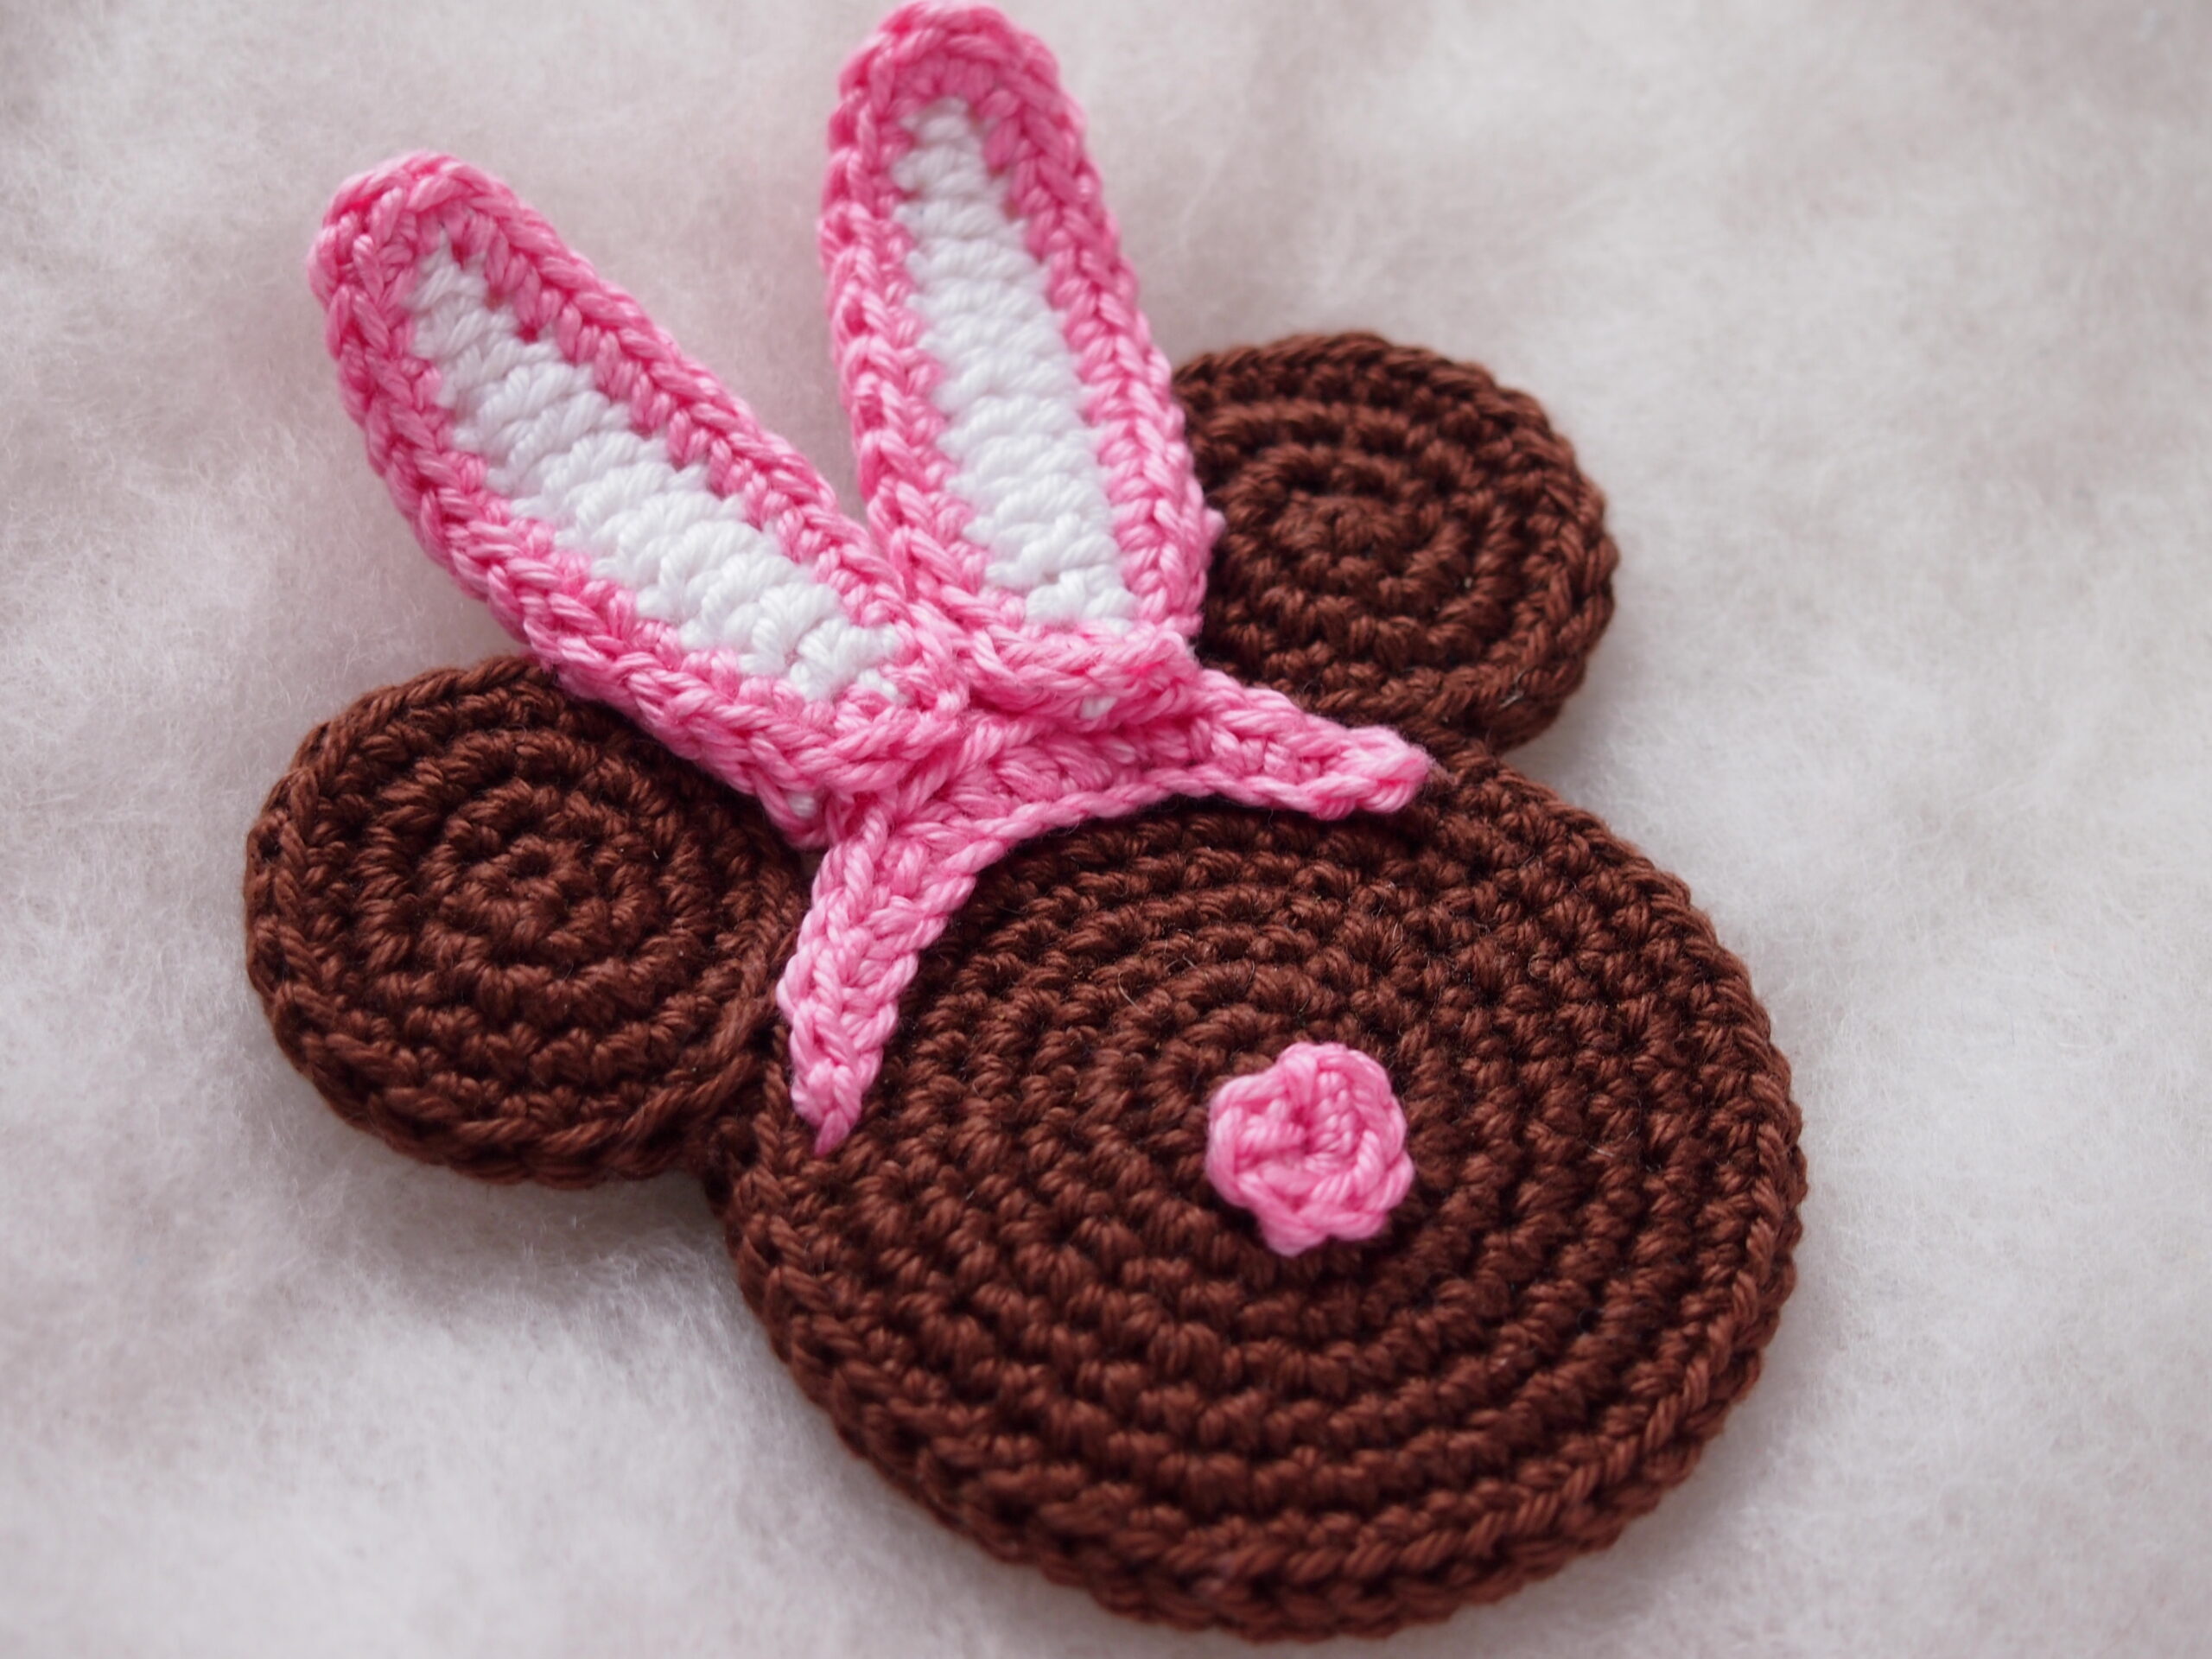
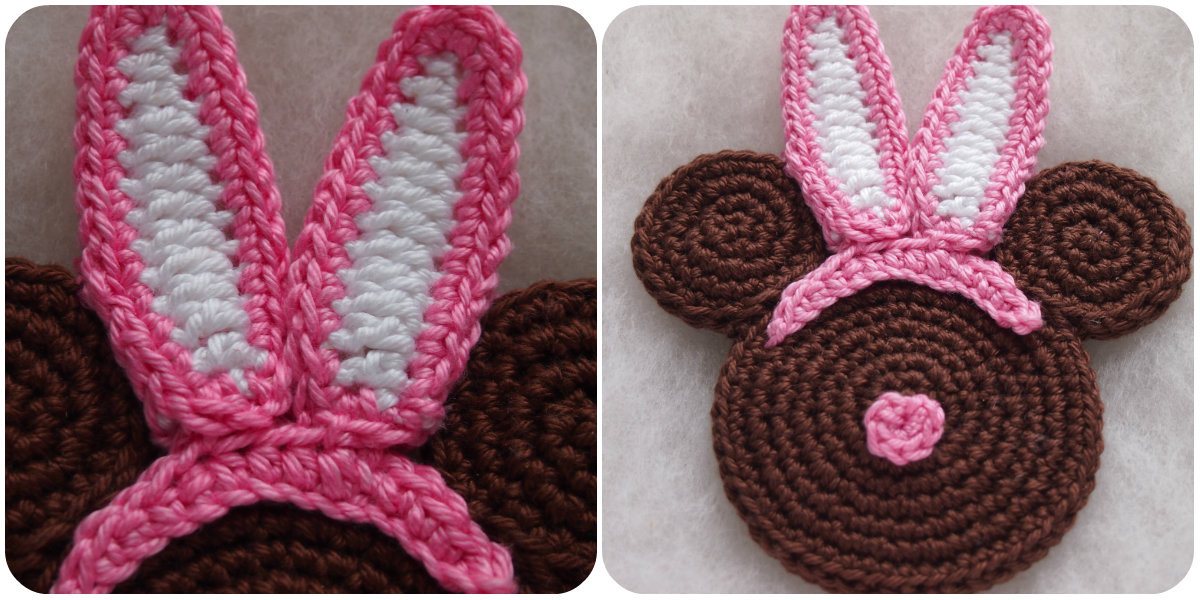
Ears.
Row 1: Ch14 with white color, 1 sc in the 2ndst from the hook, 1 hdc in the next 2 sts, dc in the next 8 sts, 1 hdc in the next st, 1 sc in the last st. Break yarn.
Row 2: sc each st around with pink color yarn. Make 3 sc on the corner of the ear and continue to work till the end. Break yarn and fasten off.
Make 4 ears.
Hair hoop.
Ch 15 with pink color yarn, 1sc in the 2ndst from the hook, sc in the next 3 sts, 1 hdc in the next 6 sts, 1 sc in the next 4 sts. Break yarn and fasten off.
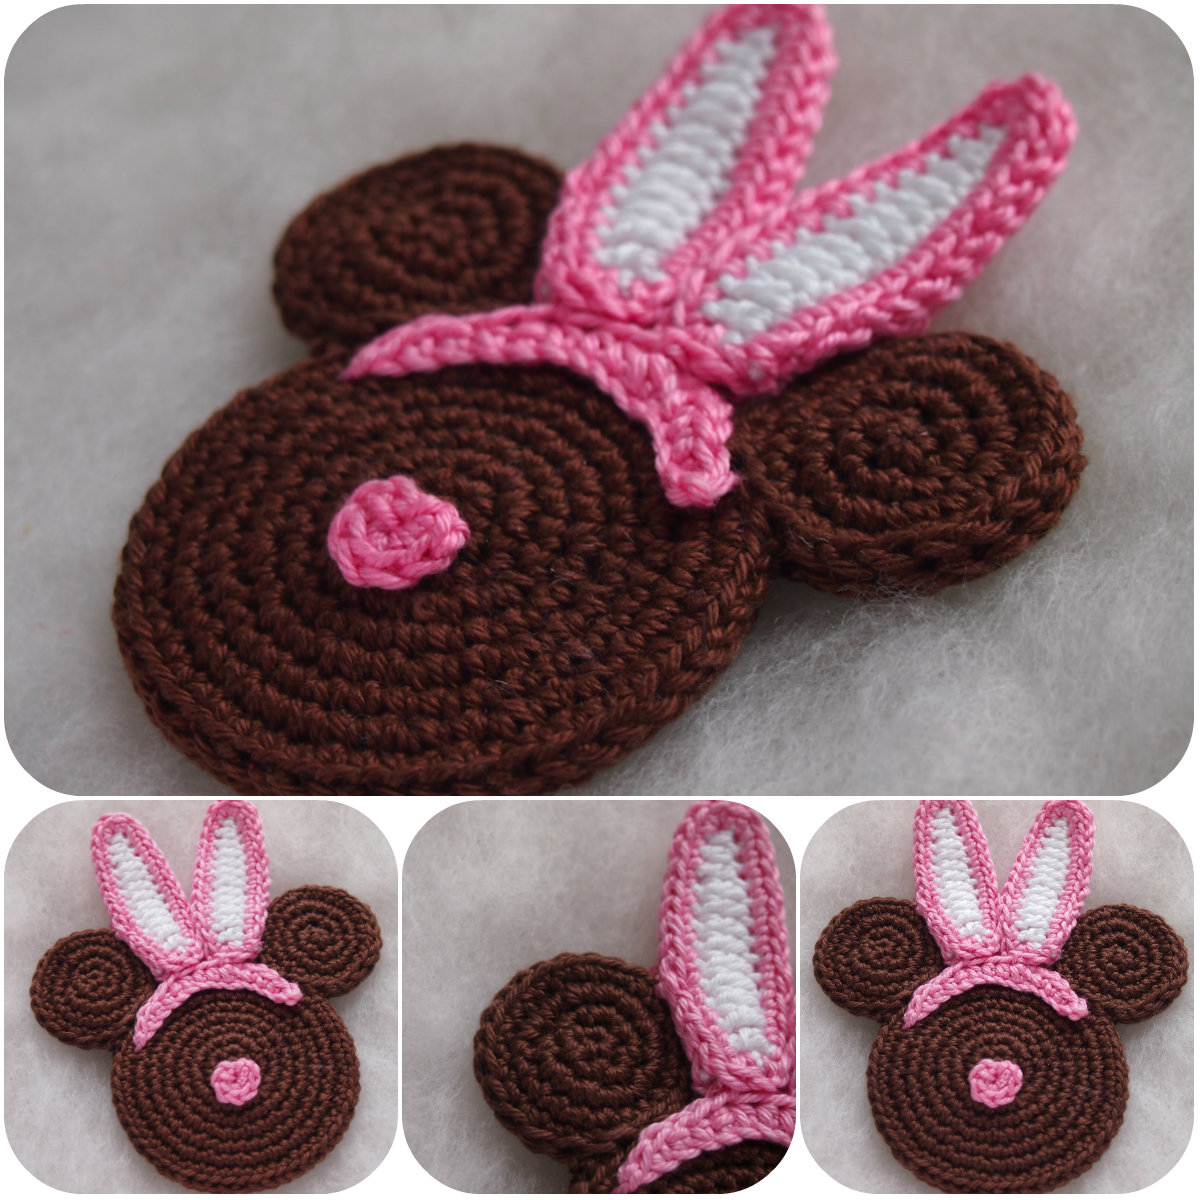
Assembling
Sew the ears using needle and brown color yarn. Then sew the nose and the hair hoop with pink color yarn. Sew two ears each with pink color yarn.
Sew the ears to the hair hoop.
So you have 2 heads with ears: one head is with decoration, other is just plain. Then sew 2 heads together using needle and brown color yarn.
![]()

Looking for more patterns? Follow me on Facebook, Instagram, and Pinterest! Please share a pic of your finished product with me. I’d love to see it!
