

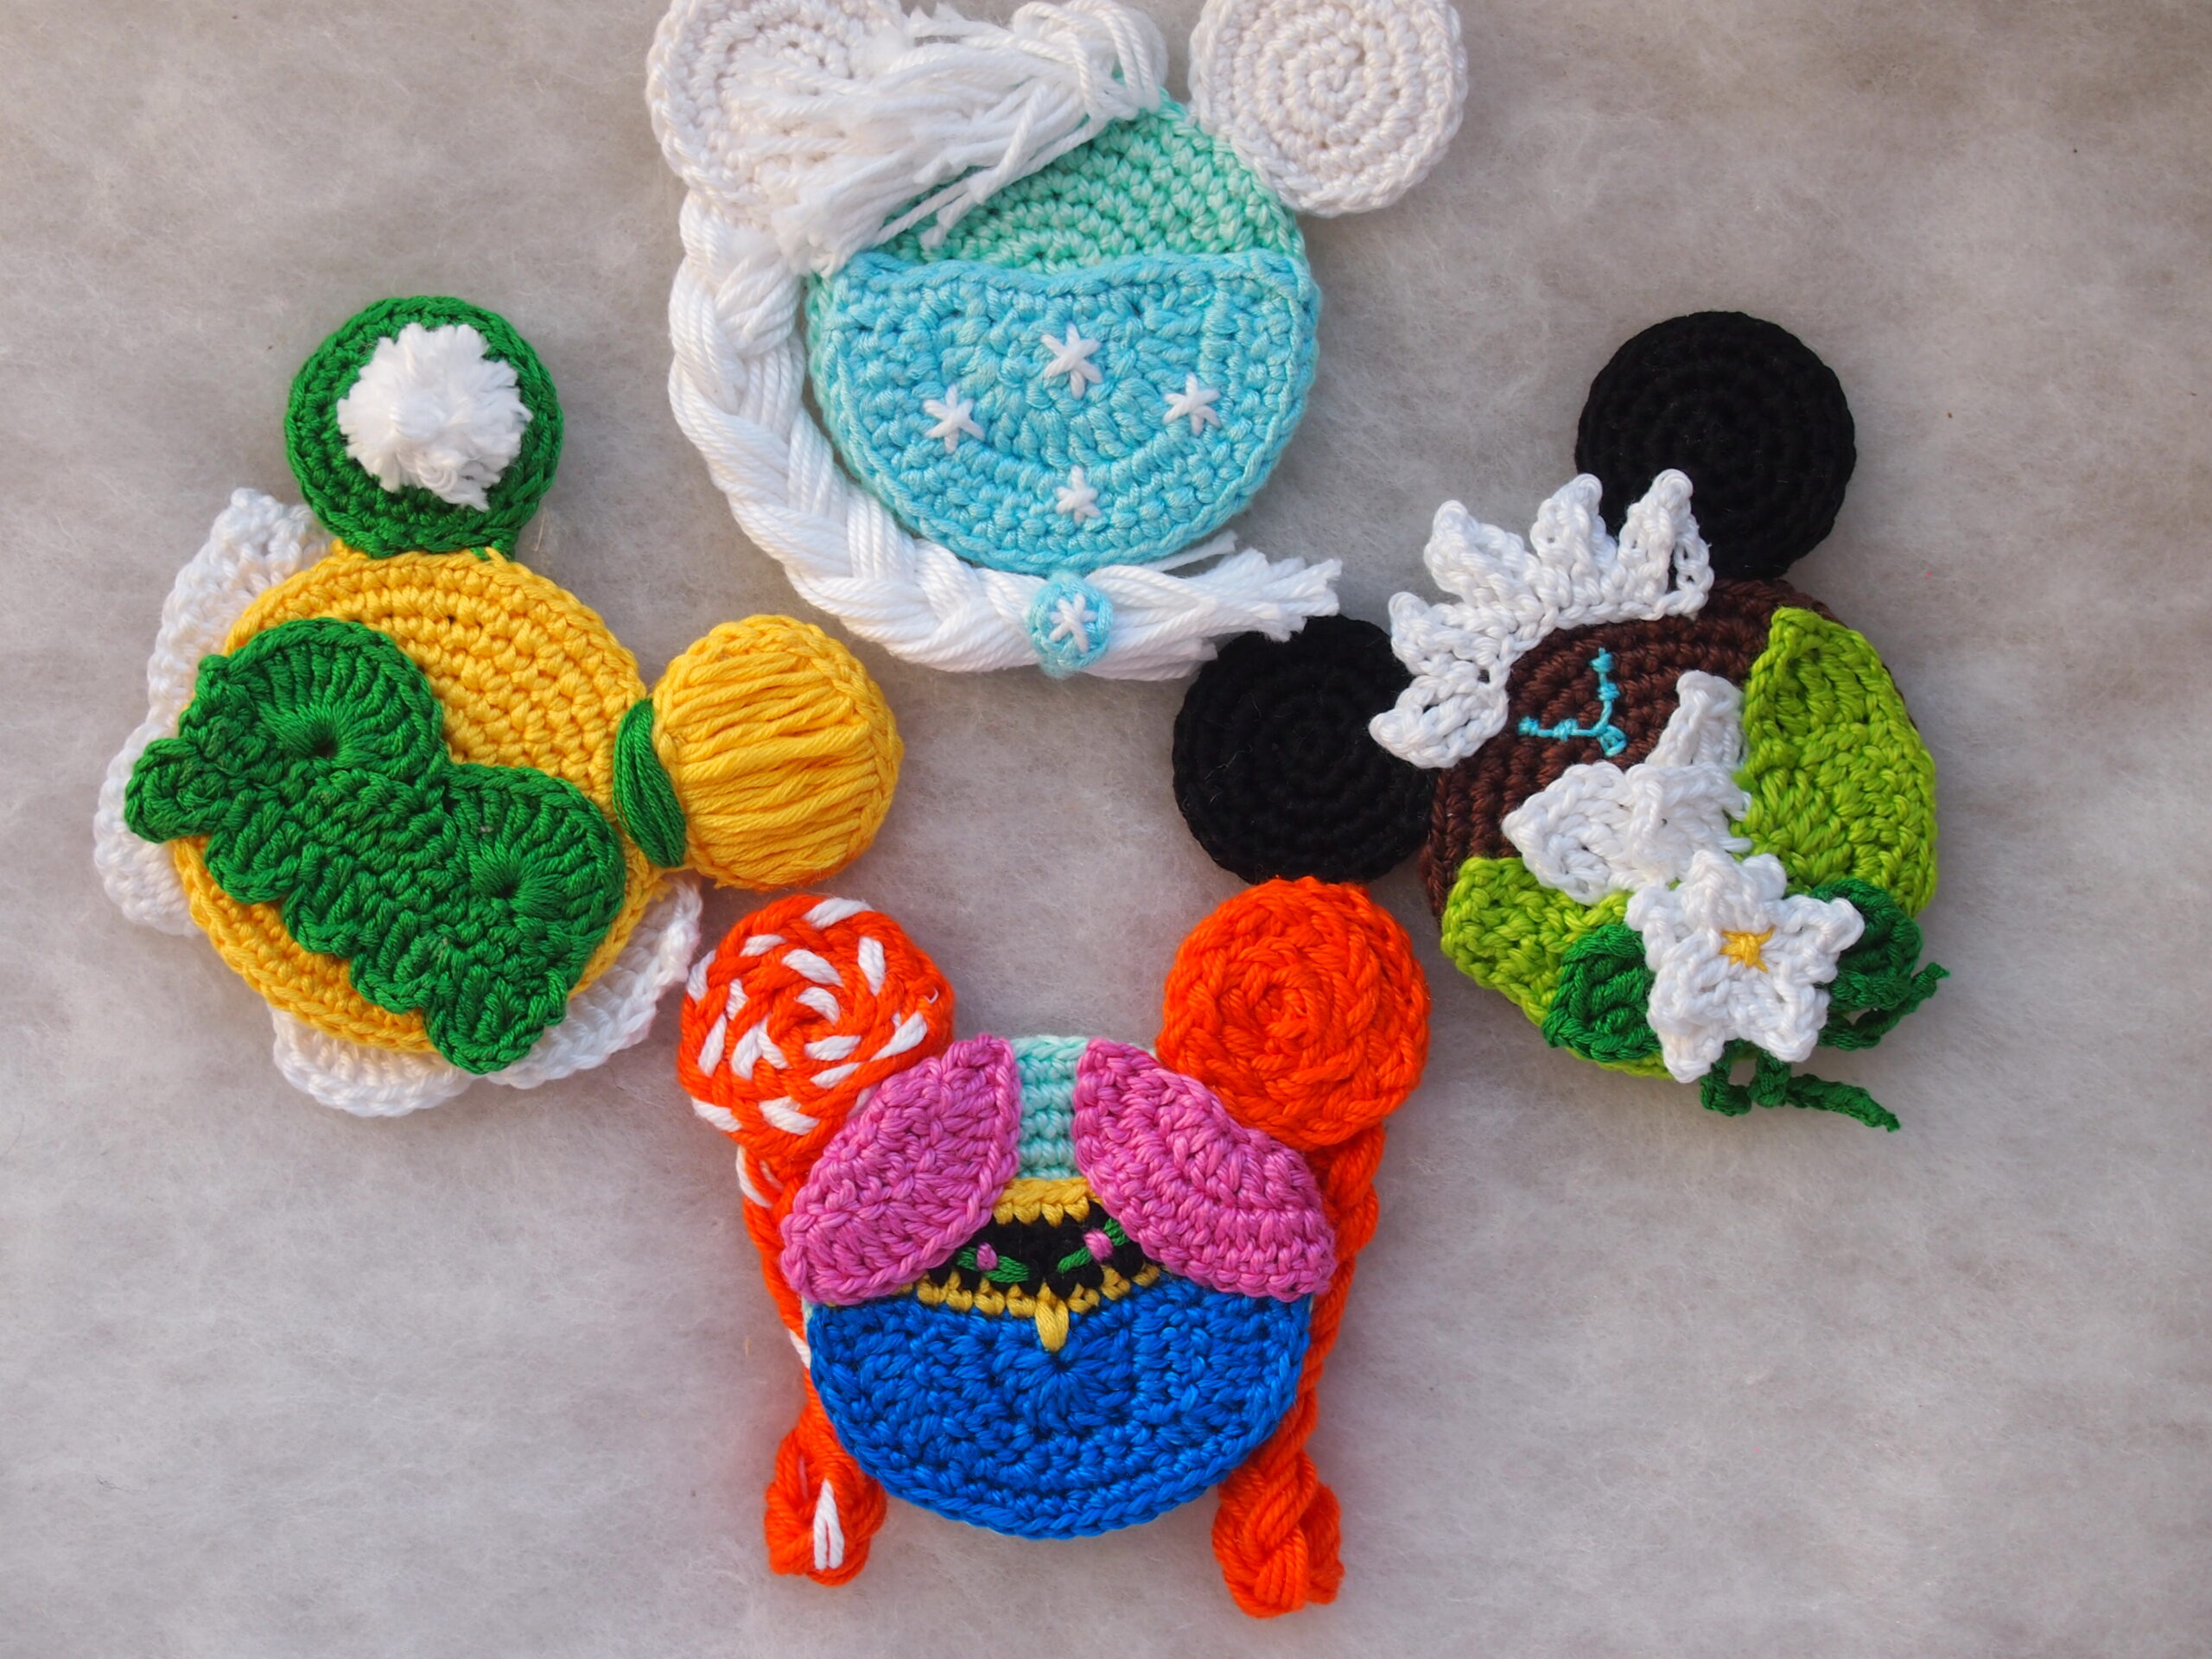
I think that all small girls are princesses. Sometimes they just don’t know about that. But all girls adore princesses. Elsa and Anna are very loved by my small girl. My boy loves her too! Who are your favorite princesses?
You can use the ornament for making the Disney pin, magnet, hairpin or backpack clip. You can also use it for decoration of Christmas tree, tag for suitcase in Disney cruise, jewelry (using thinner yarn), bookmarks.
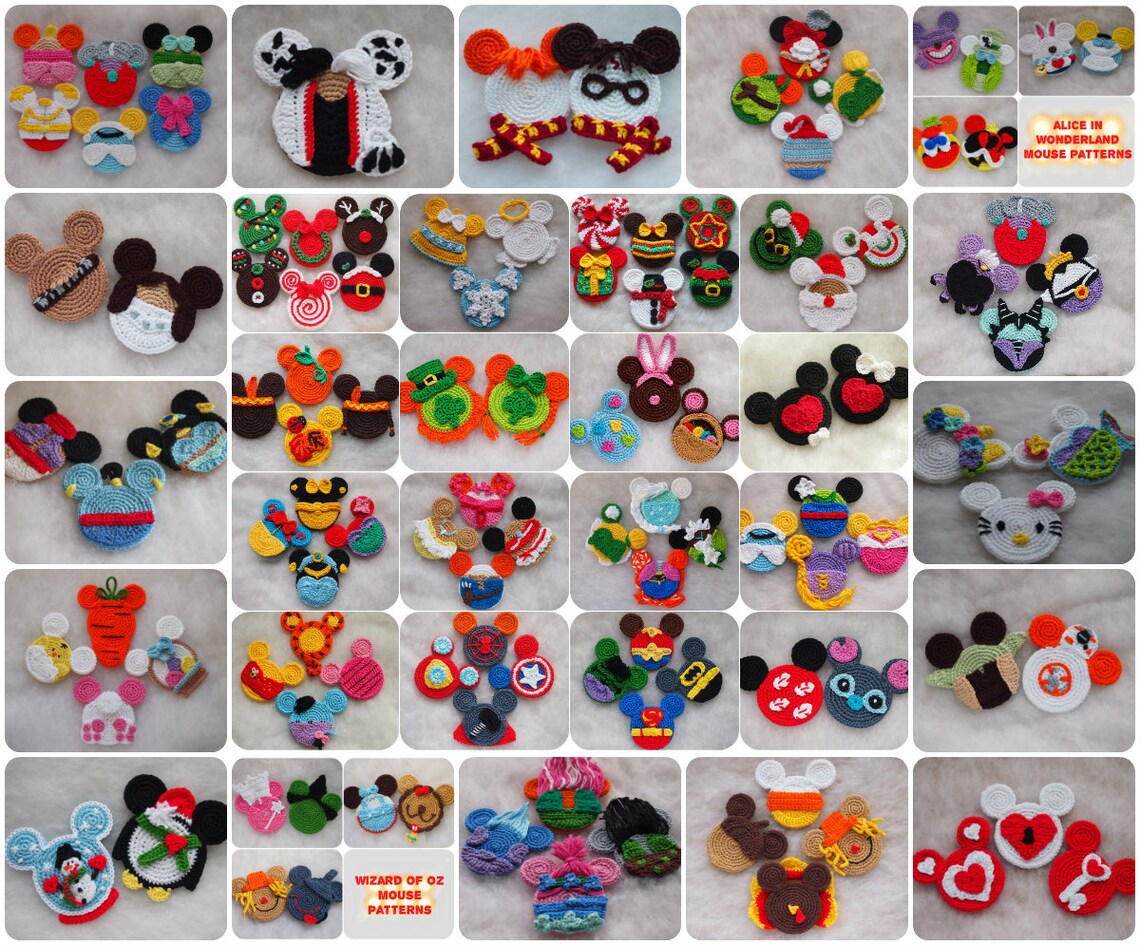
Other Mouse patterns in my blog:
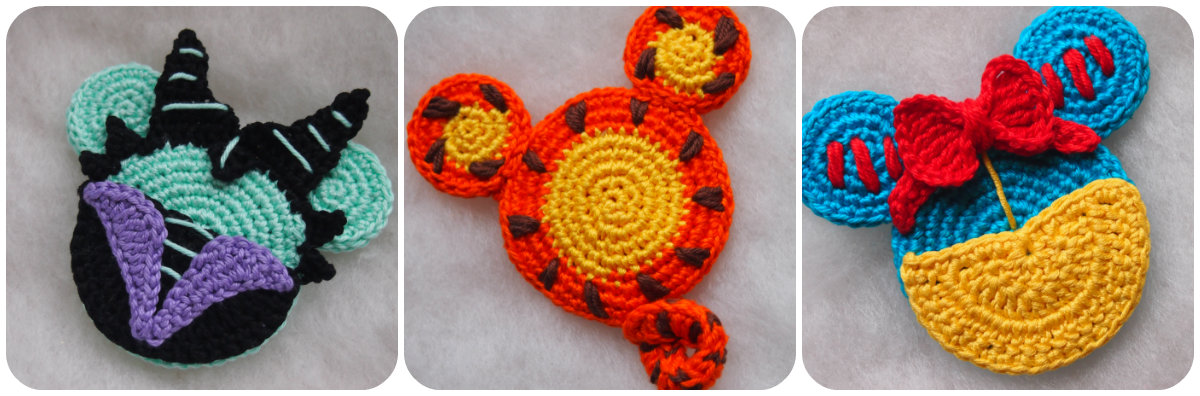
🦇 Maleficent 🦇 💪 Tiger💪 🍎 Snow White 🍎
Or you can whip up and attach to gift tags on gifts for all the Disney and Frozen fans in your life, and it will be a massive hit.
- Get the ad-free, large print, printable PDF pattern HERE
- Get the Pattern Bundle that includes all 111 Christmas, autumn, princesses, Valentine, superheroes ,Winnie the Pooh, Wizard of Oz, Star Heroes and many others Mouse ornaments HERE
PATTERN.
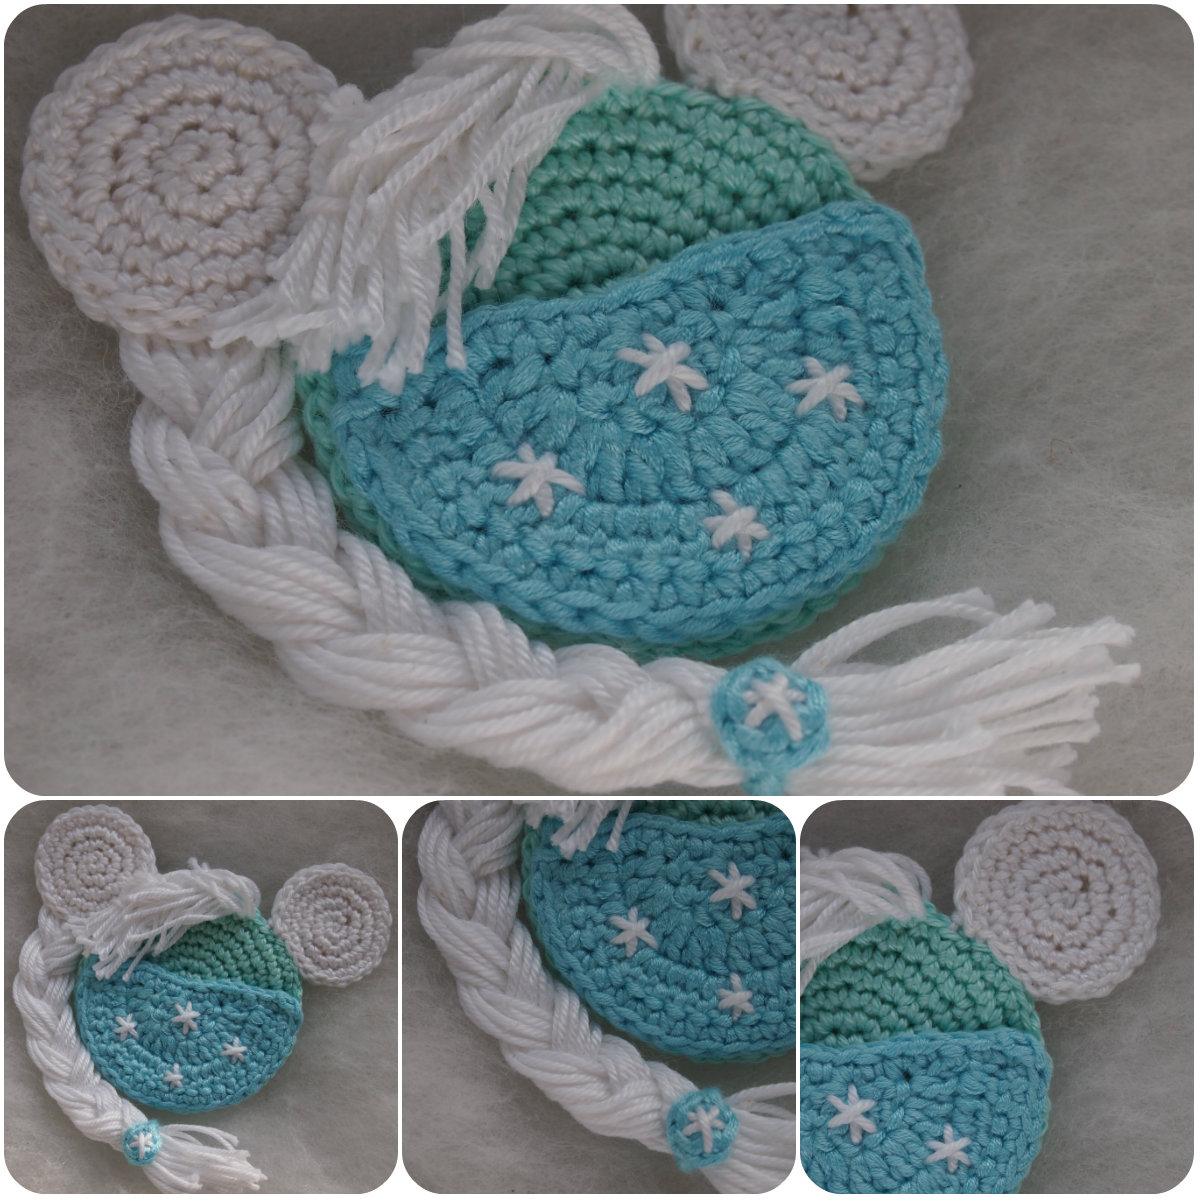
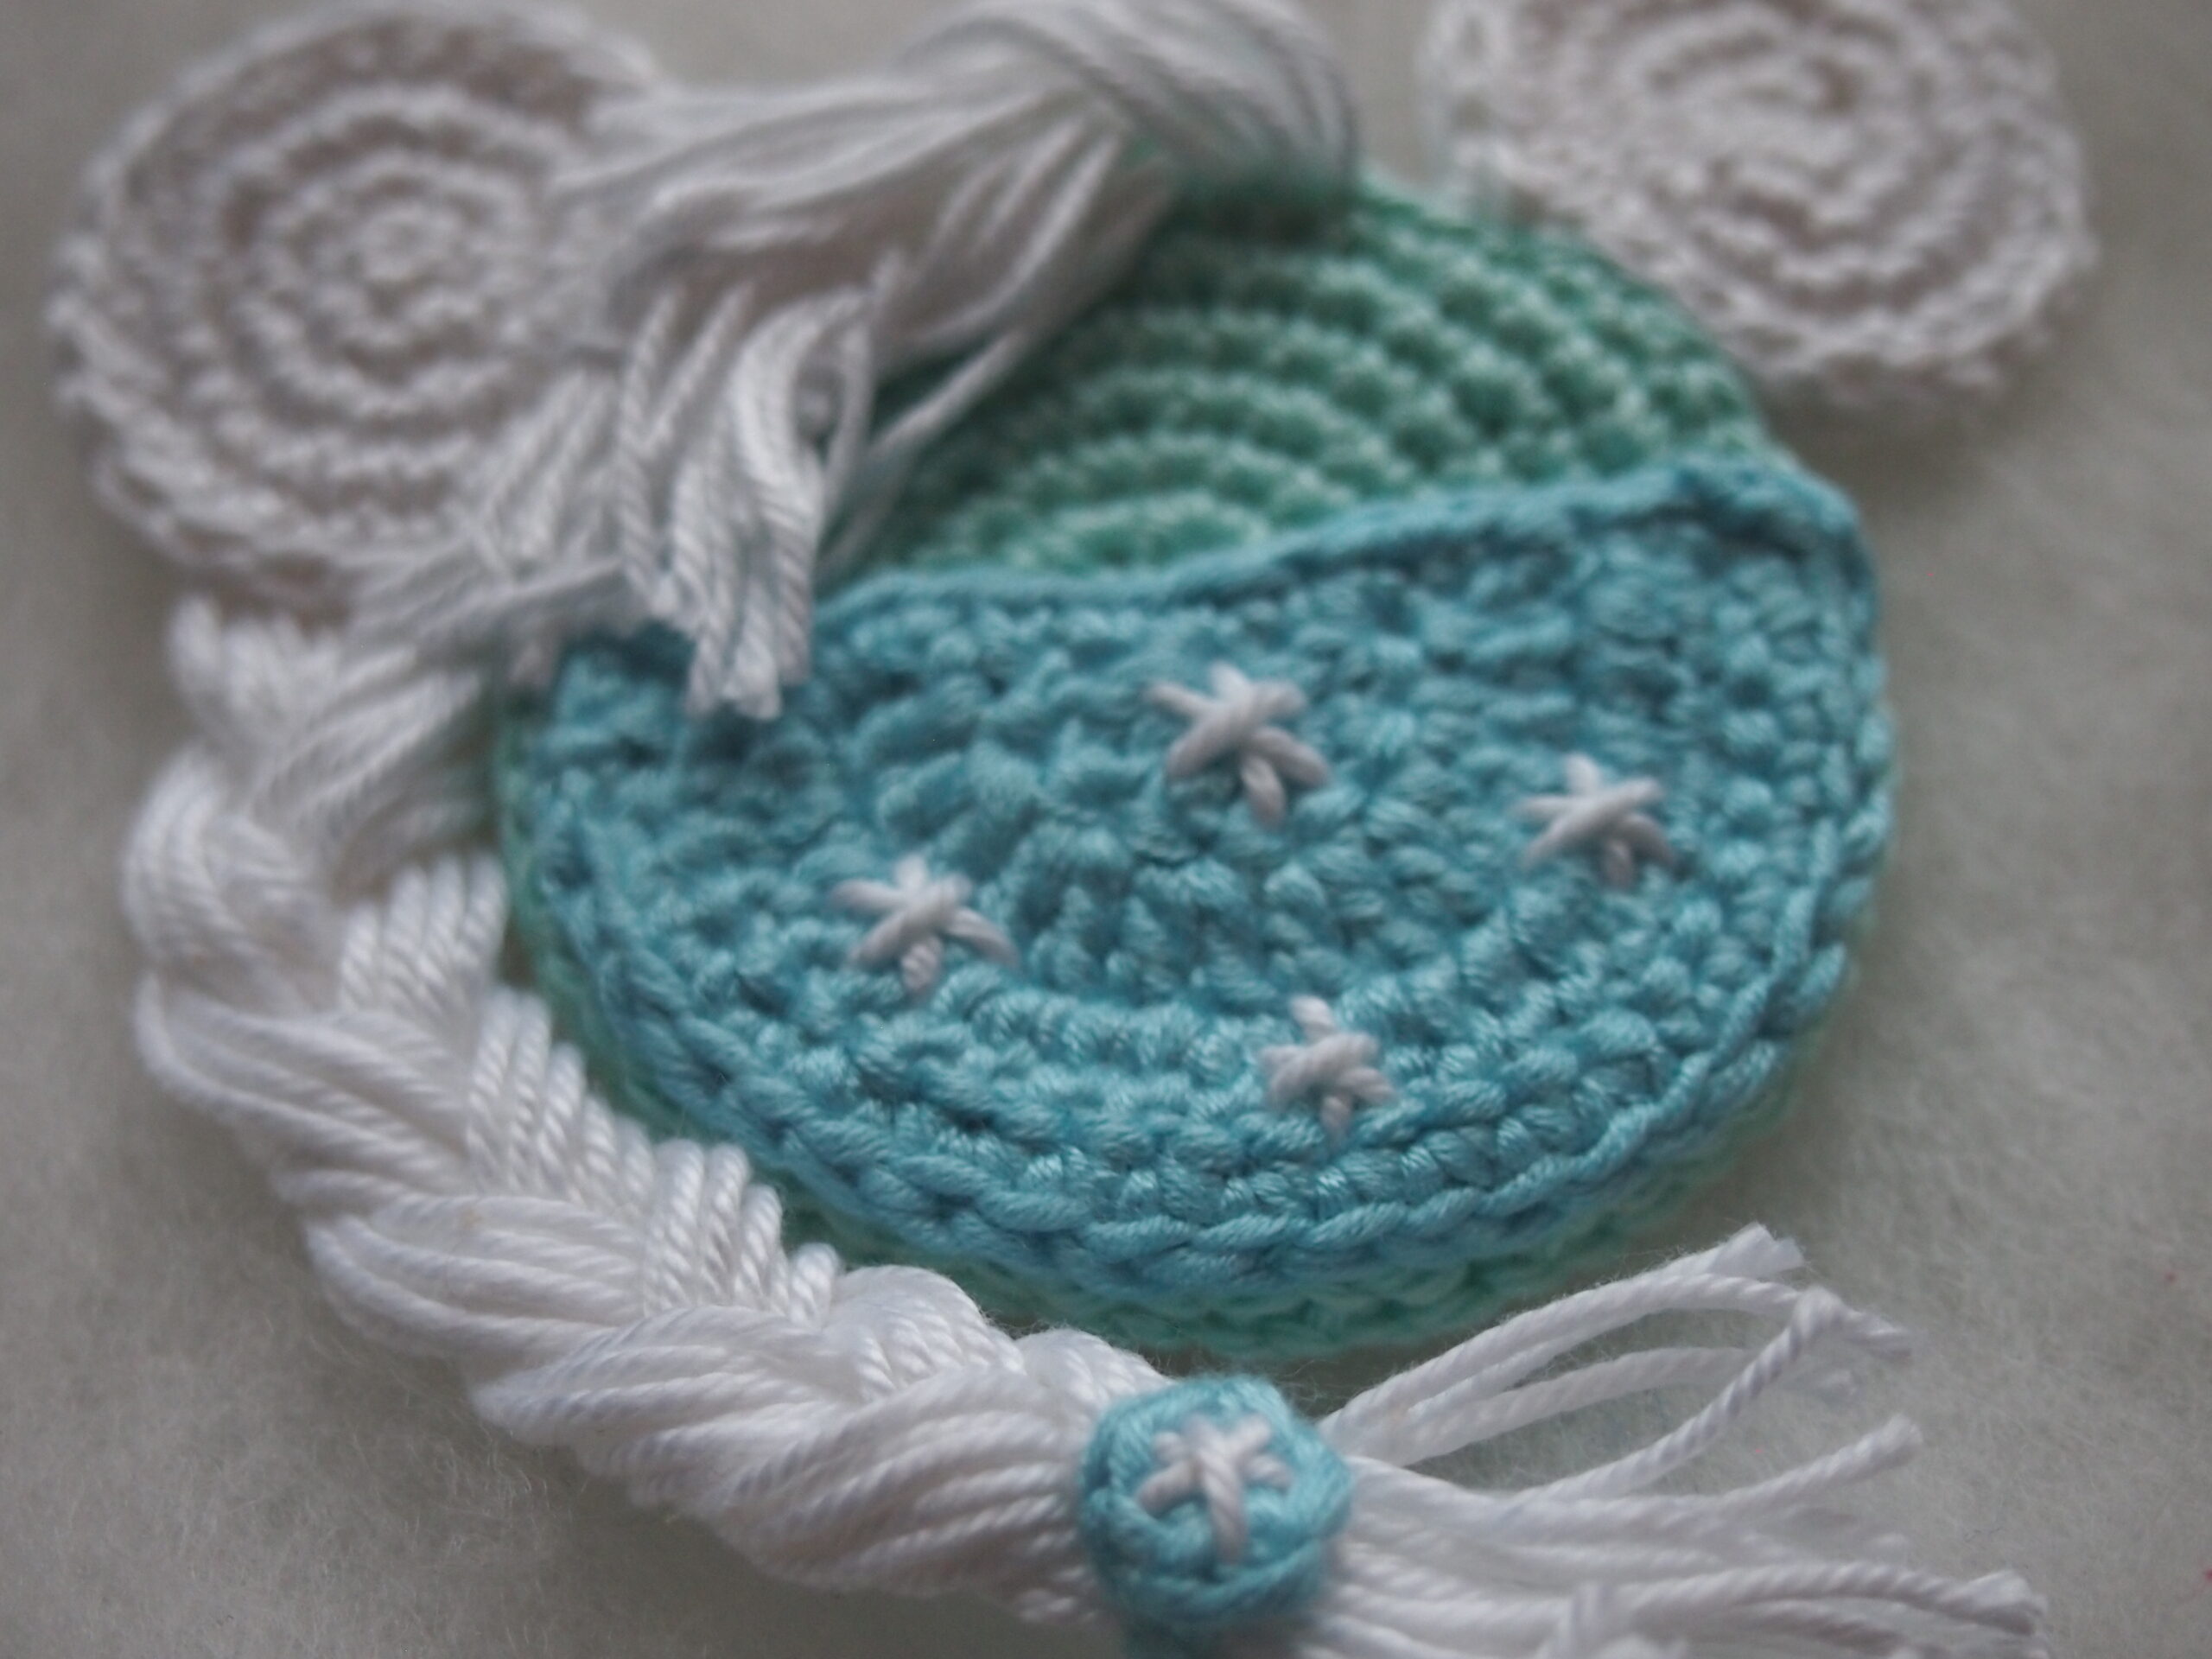
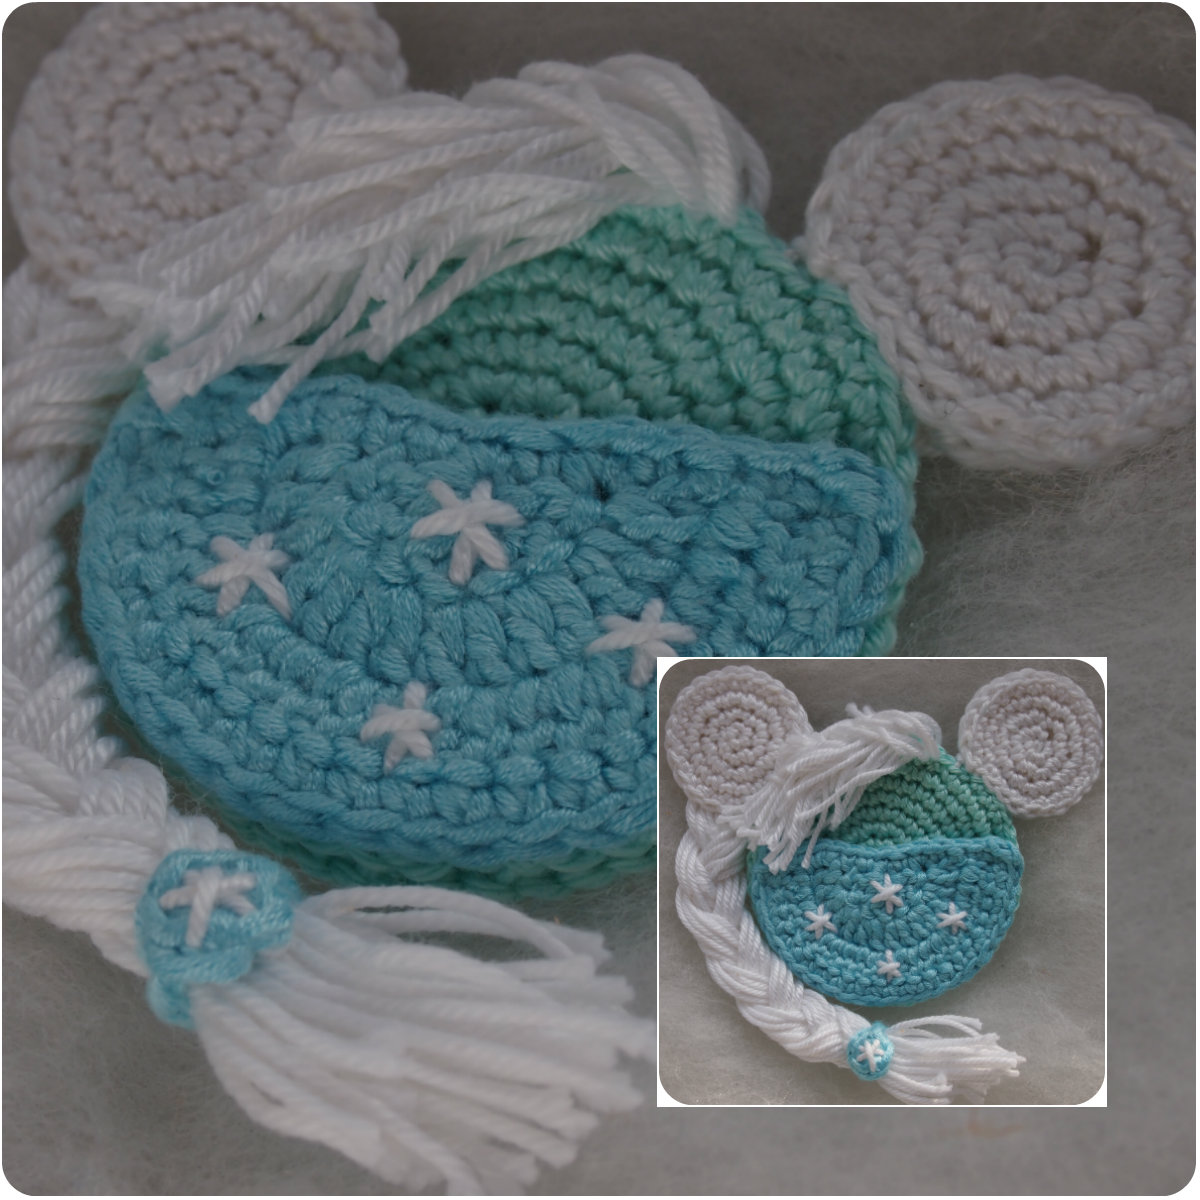
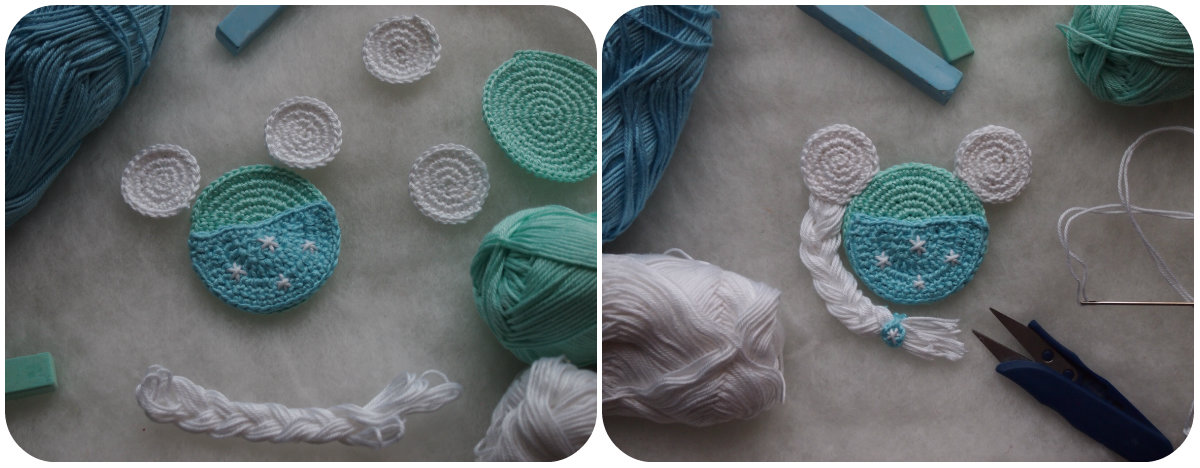
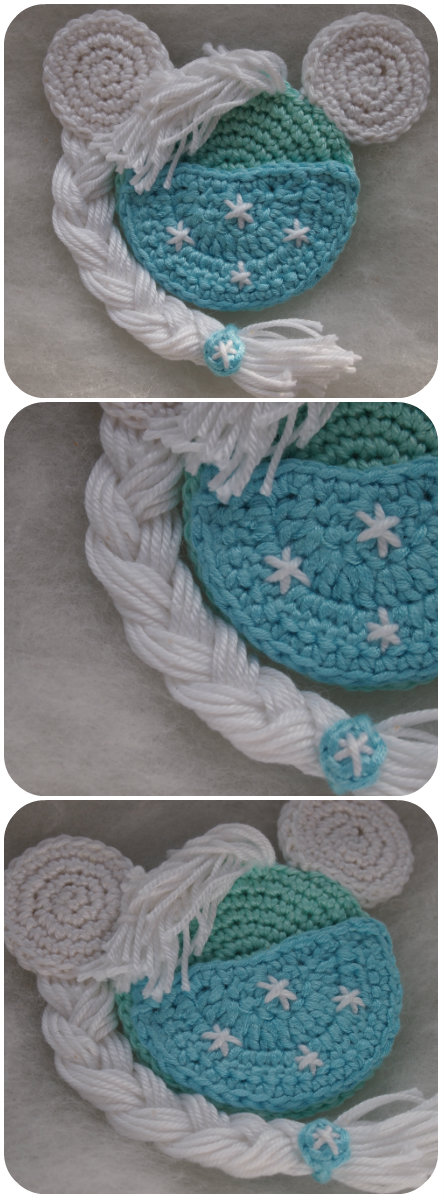
The ornament consists of 2 parts of head and 4 parts of ears, dress and braid. The dress is decorated with the embroidment. Ok, let’s start!
Materials:
- Any cotton 100% Weight/Yardage 50g/137yds: Cascade Ultra Pima Fine, 100% cotton or Schachenmayr Catania, etc.
- Size D/3 (3 mm) crochet hook
- Tapestry needle
- Scissors
Abbreviations (US terms):
ch – chain
st st – slip stitch
sc – single crochet
dc – double crochet
sk – skip
st(s) – stitch(es)
Skill Level: Easy
Instructions.
Head.
Round 1: Magic ring with mint color, 6 sc in ring and pull tight. (6 sts)
Round 2: 2 sc in each chain stitch around. (12 sts)
Round 3: 2 sc in each chain stitch around. (24 sts). Move marker.
Round 4: sc in each chain stitch around. (24 sts). Move marker.
Round 5: *2 sc in next st, 1 sc in next st* repeat around. (36 sts). Move marker.
Round 6: sc in each chain stitch around. (36 sts). Move marker.
Round 7: *2 sc in next st, 1 sc in next st* repeat around. (54 sts). Move marker.
Round 8: sc in each chain stitch around. (54 sts). Break yarn and fasten off.
Then make the 2nd head.
Ears.
Round 1: Magic ring with white color, 6 sc in ring and pull tight. (6 sts)
Round 2: 2 sc in each chain stitch around. (12 sts)
Round 3: 2 sc in each chain stitch around. (24 sts)
Round 4: sc in each chain stitch around. (24 sts)
Then 1 sc in next 5 sts and ss. Break yarn and fasten off.
Dress
Round 1: Magic ring with light blue color, chain 3, 8 dc in ring and pull tight. Turn. (9 sts)
Row 2: Ch 3, 1 dc in the same st, *2 dc in next st* repeat 7 times (16 sts) Turn.
Row 3: Ch 3, 1 dc in the same st, *1 dc in next st, 2 dc in next st * repeat 7 times, (23 sts).
Row 4: Sc each stitch around. Break yarn and fasten off.
Sew 4 small snowflakes with white color yarn. Break yarn and fasten off.
Braid.
Fold the white yarn 6 times and measure 3 strands of 15 cm (5.5 inches). Plait them in a braid. When you assemble your Elsa sew the end of the braid between 2 parts of the left ear with white color yarn.
Hair band.
Round 1: Magic ring with light blue color, 6 sc in ring and pull tight. (6 sts). Chain 10. Break yarn and fasten off. Then chain 10 on the other side of our round. Sew the snowflake with white color yarn.
Assembling
Sew the ears to the head with white color yarn.
Sew the dress using light blue color yarn.
So you have 2 heads with ears: one head is with decoration, other is just plain. Sew 2 heads together using needle and mint color yarn. And sew the braid as you read higher. Tie the band on the braid.
And make the forelock with white color yarn. Give the forelock shape with scissors and sew some stitches with white color yarn to fix the hair. Fix the end of braid with white color yarn or leave it without fixing.

![]()
Hope this is what you ended up with! If you need help with the pattern or you have other questions please leave a comment here on my blog!
Looking for more patterns? Follow me on Facebook, Instagram, and Pinterest! Please share a pic of your finished product with me. I’d love to see it!
