
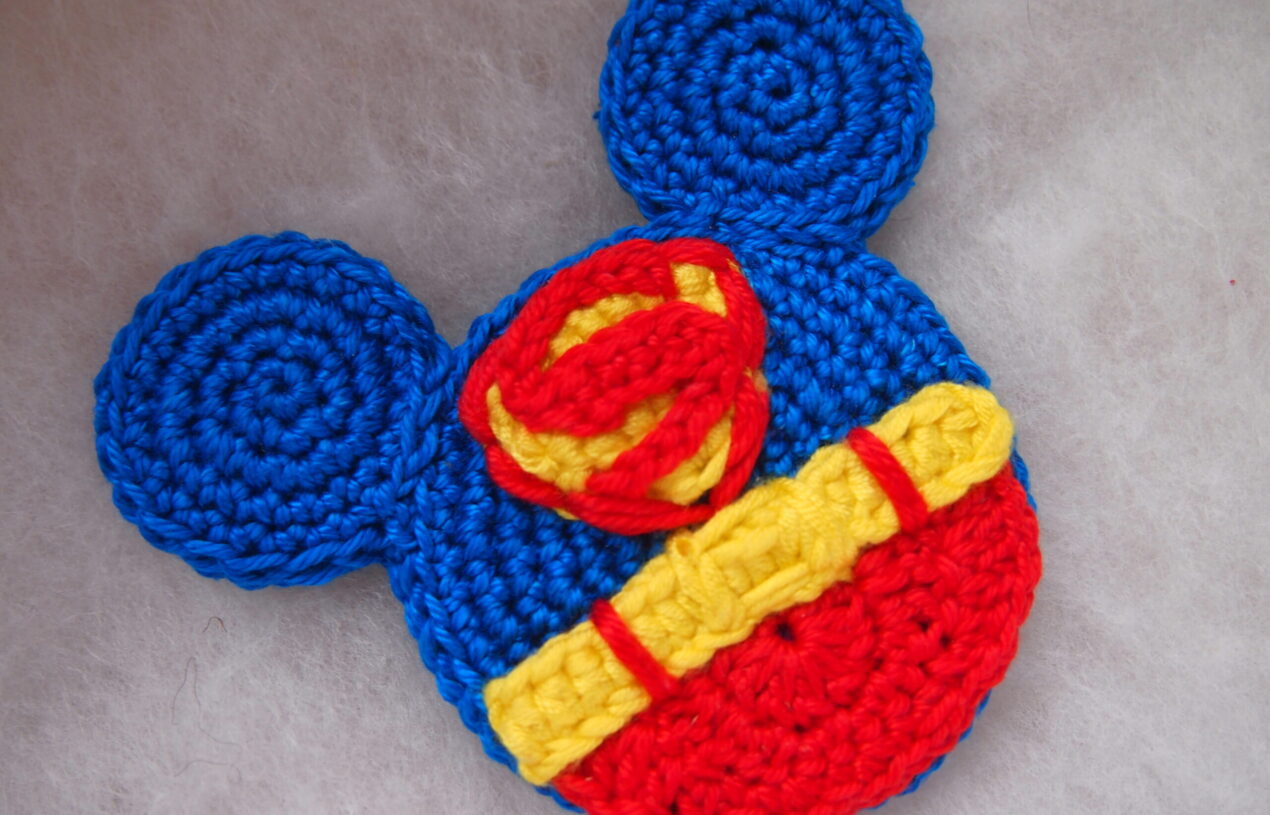
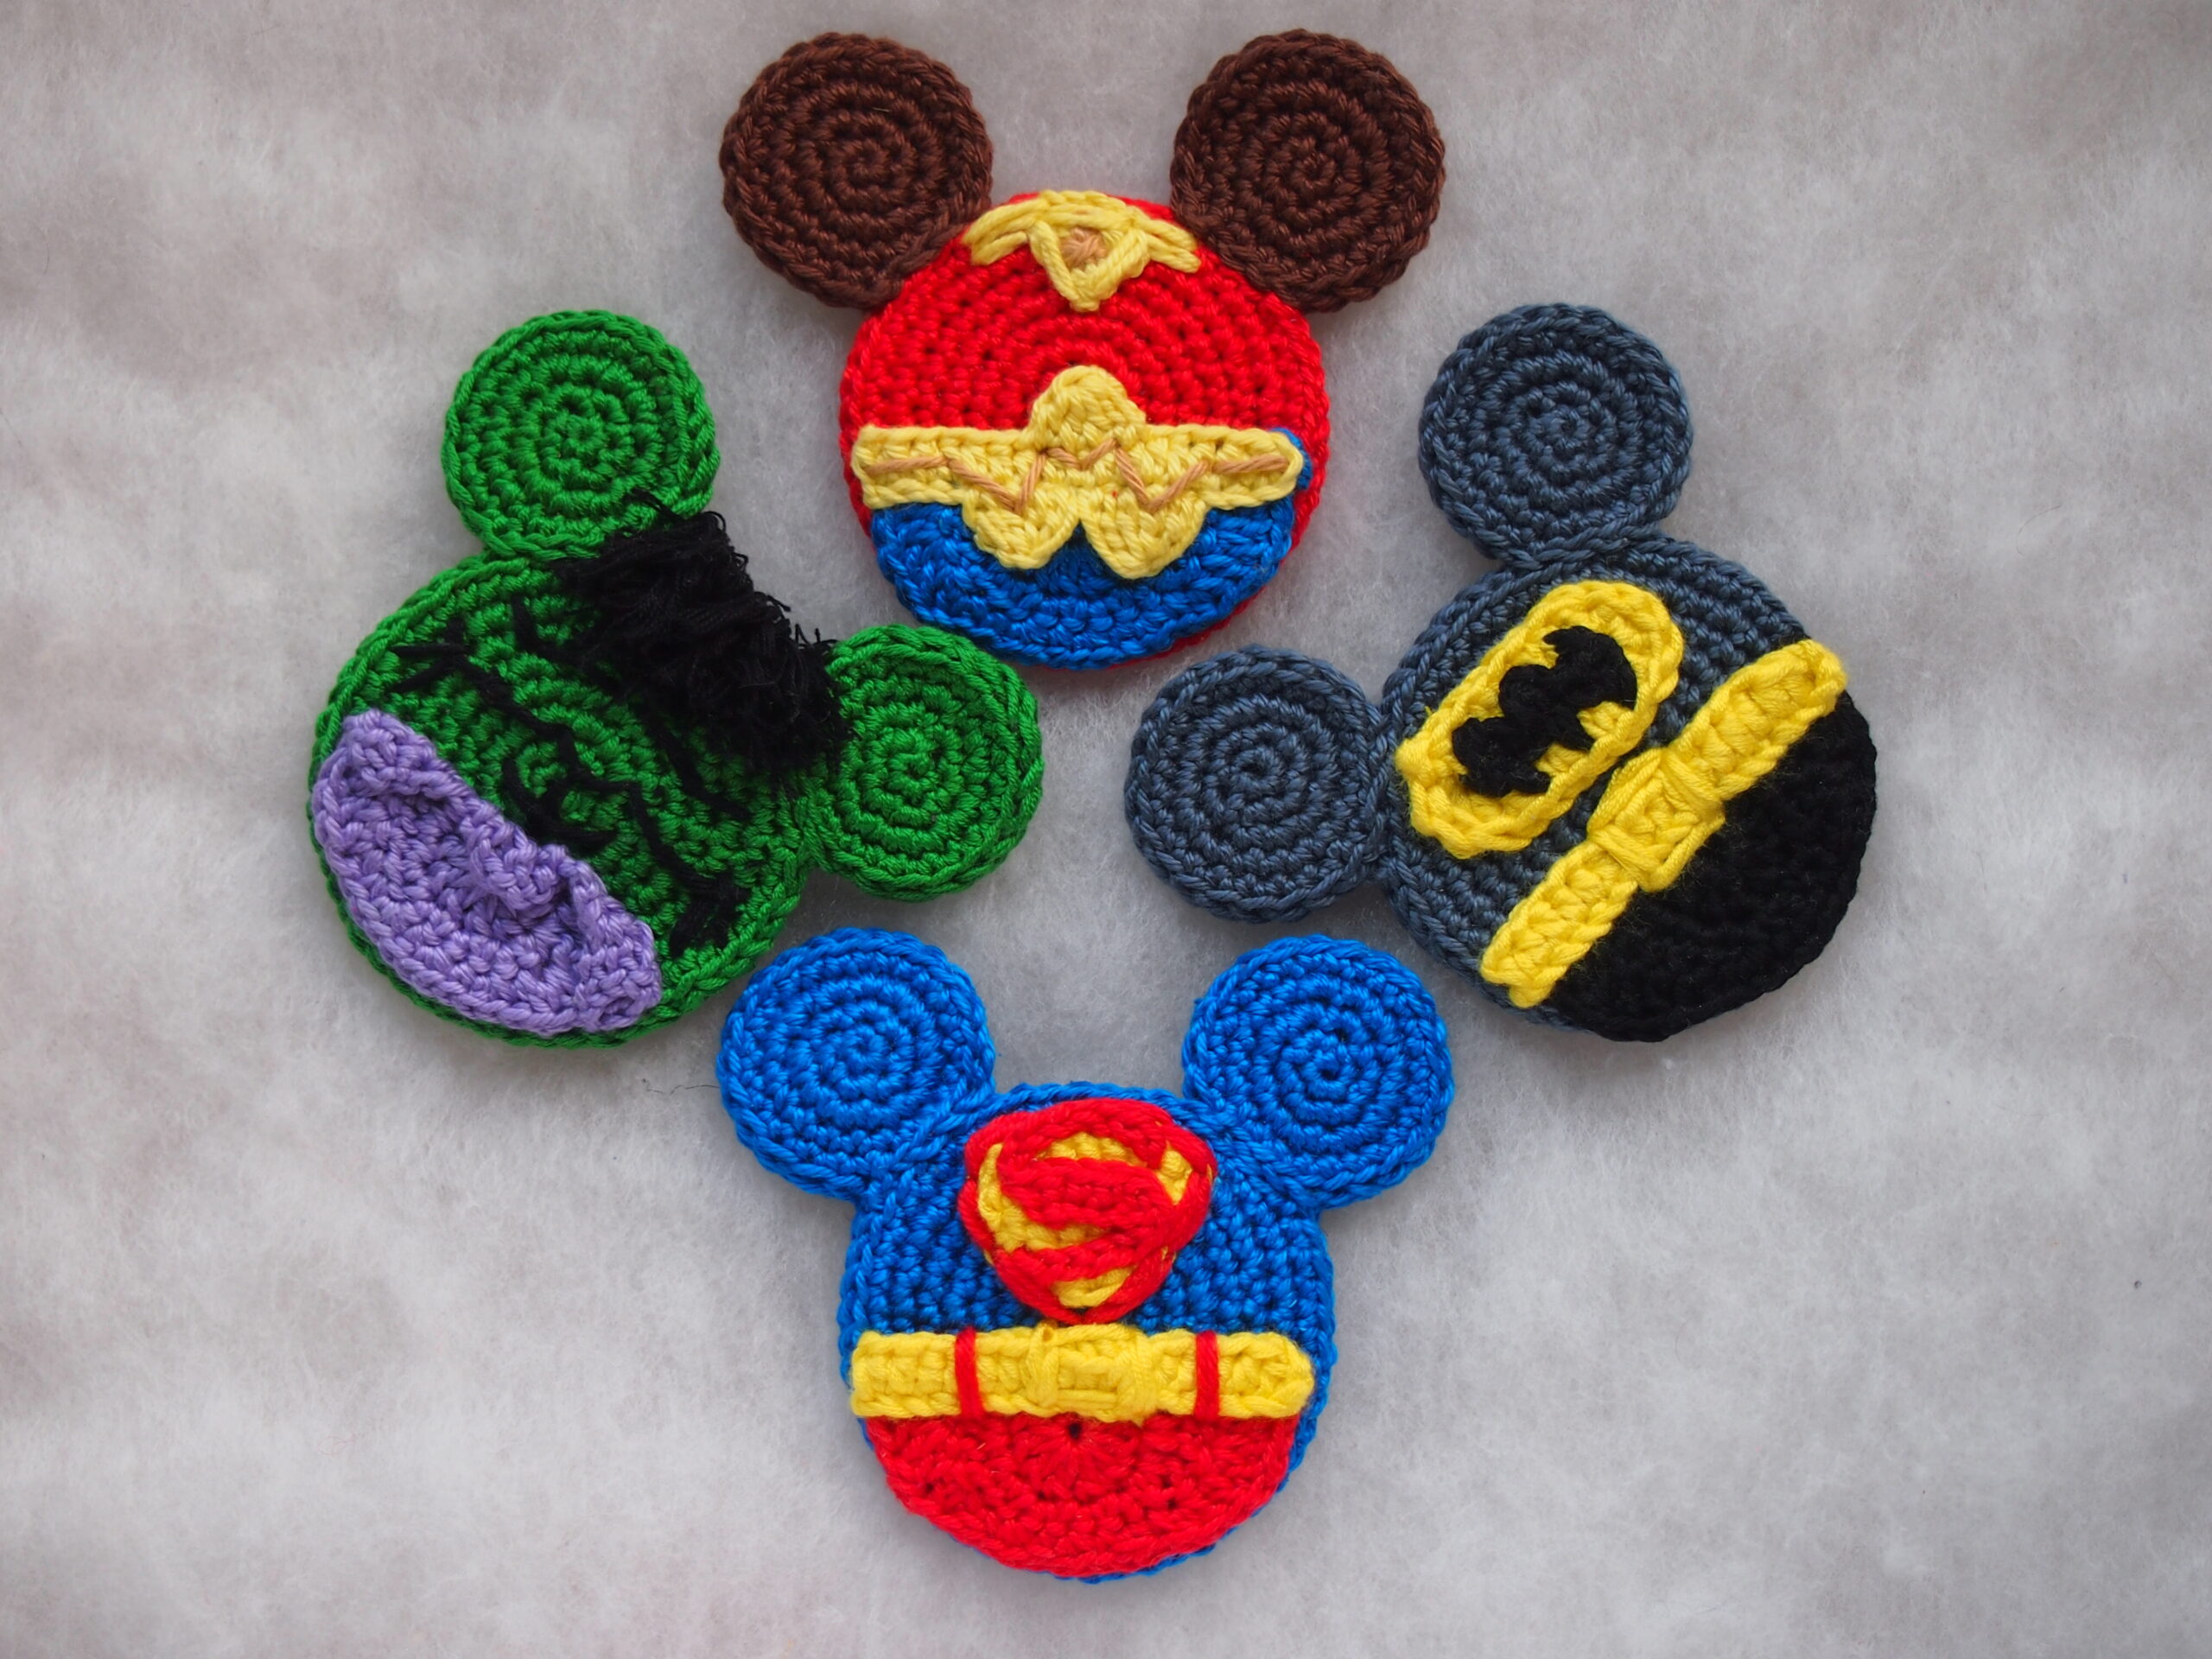
When I first made some superheroes for my kids and share the patterns, some people wrote me that I mixed DC and Marvel heroes. As for me it sounds like something incomprehensible. I have never watched Marvels’ movies till that time ( I like books more than movies)) ). I decided to sort out and started to watch them. Now I know all the differences between superheroes. I even watched Aquaman last week))) But from childhood for me the Superman is the main superhero. Share the Superman Mouse pattern with you today.
You can use the ornament for making the brooch, magnet, hairpin or backpack clip. You can also use it for decoration of Christmas tree, tag for suitcase in Disney cruise, jewelry (using thinner yarn), bookmarks.
Or you can whip up and attach to gift tags on gifts for all the Disney fans in your life, and it will be a massive hit.
- Get the ad-free, large print, printable PDF pattern HERE
- Get the Superheroes Mouse Pattern Bundle HERE or add to your Ravelry Queue HERE
PATTERN.
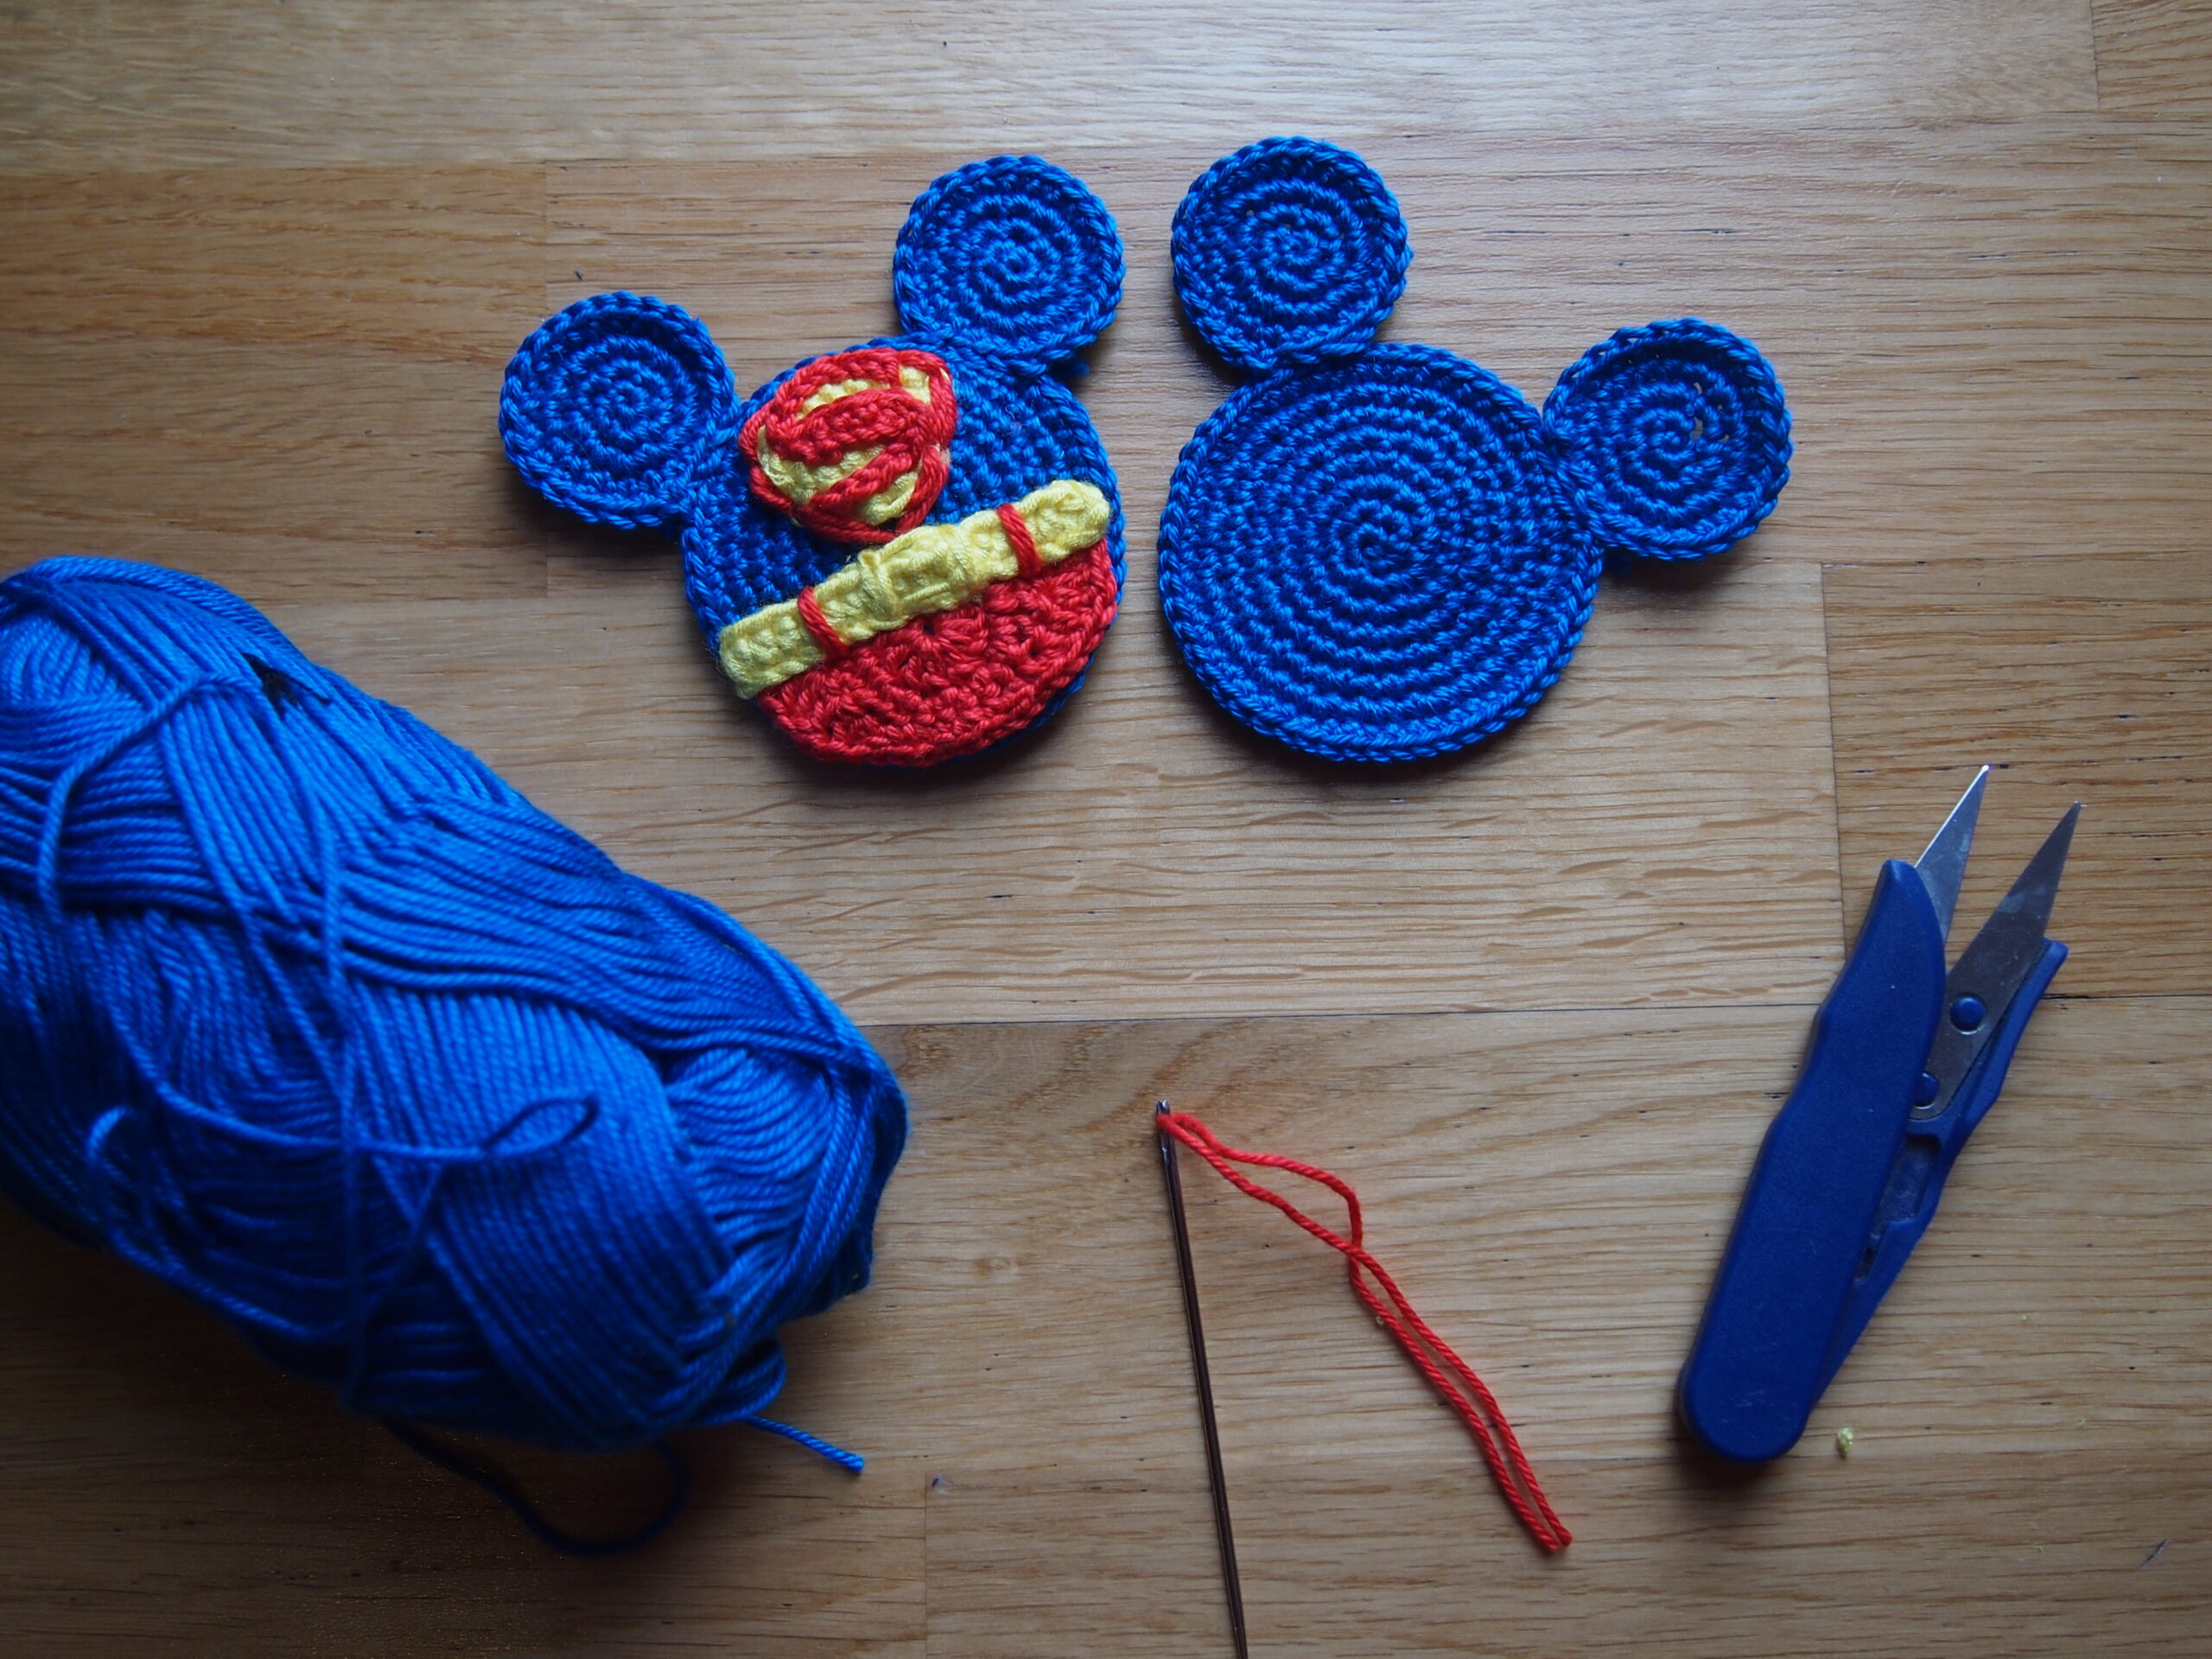
The ornament consists of 2 parts of head and 4 parts of ears. The head is decorated with the emblem and belt. Ok, let’s start!
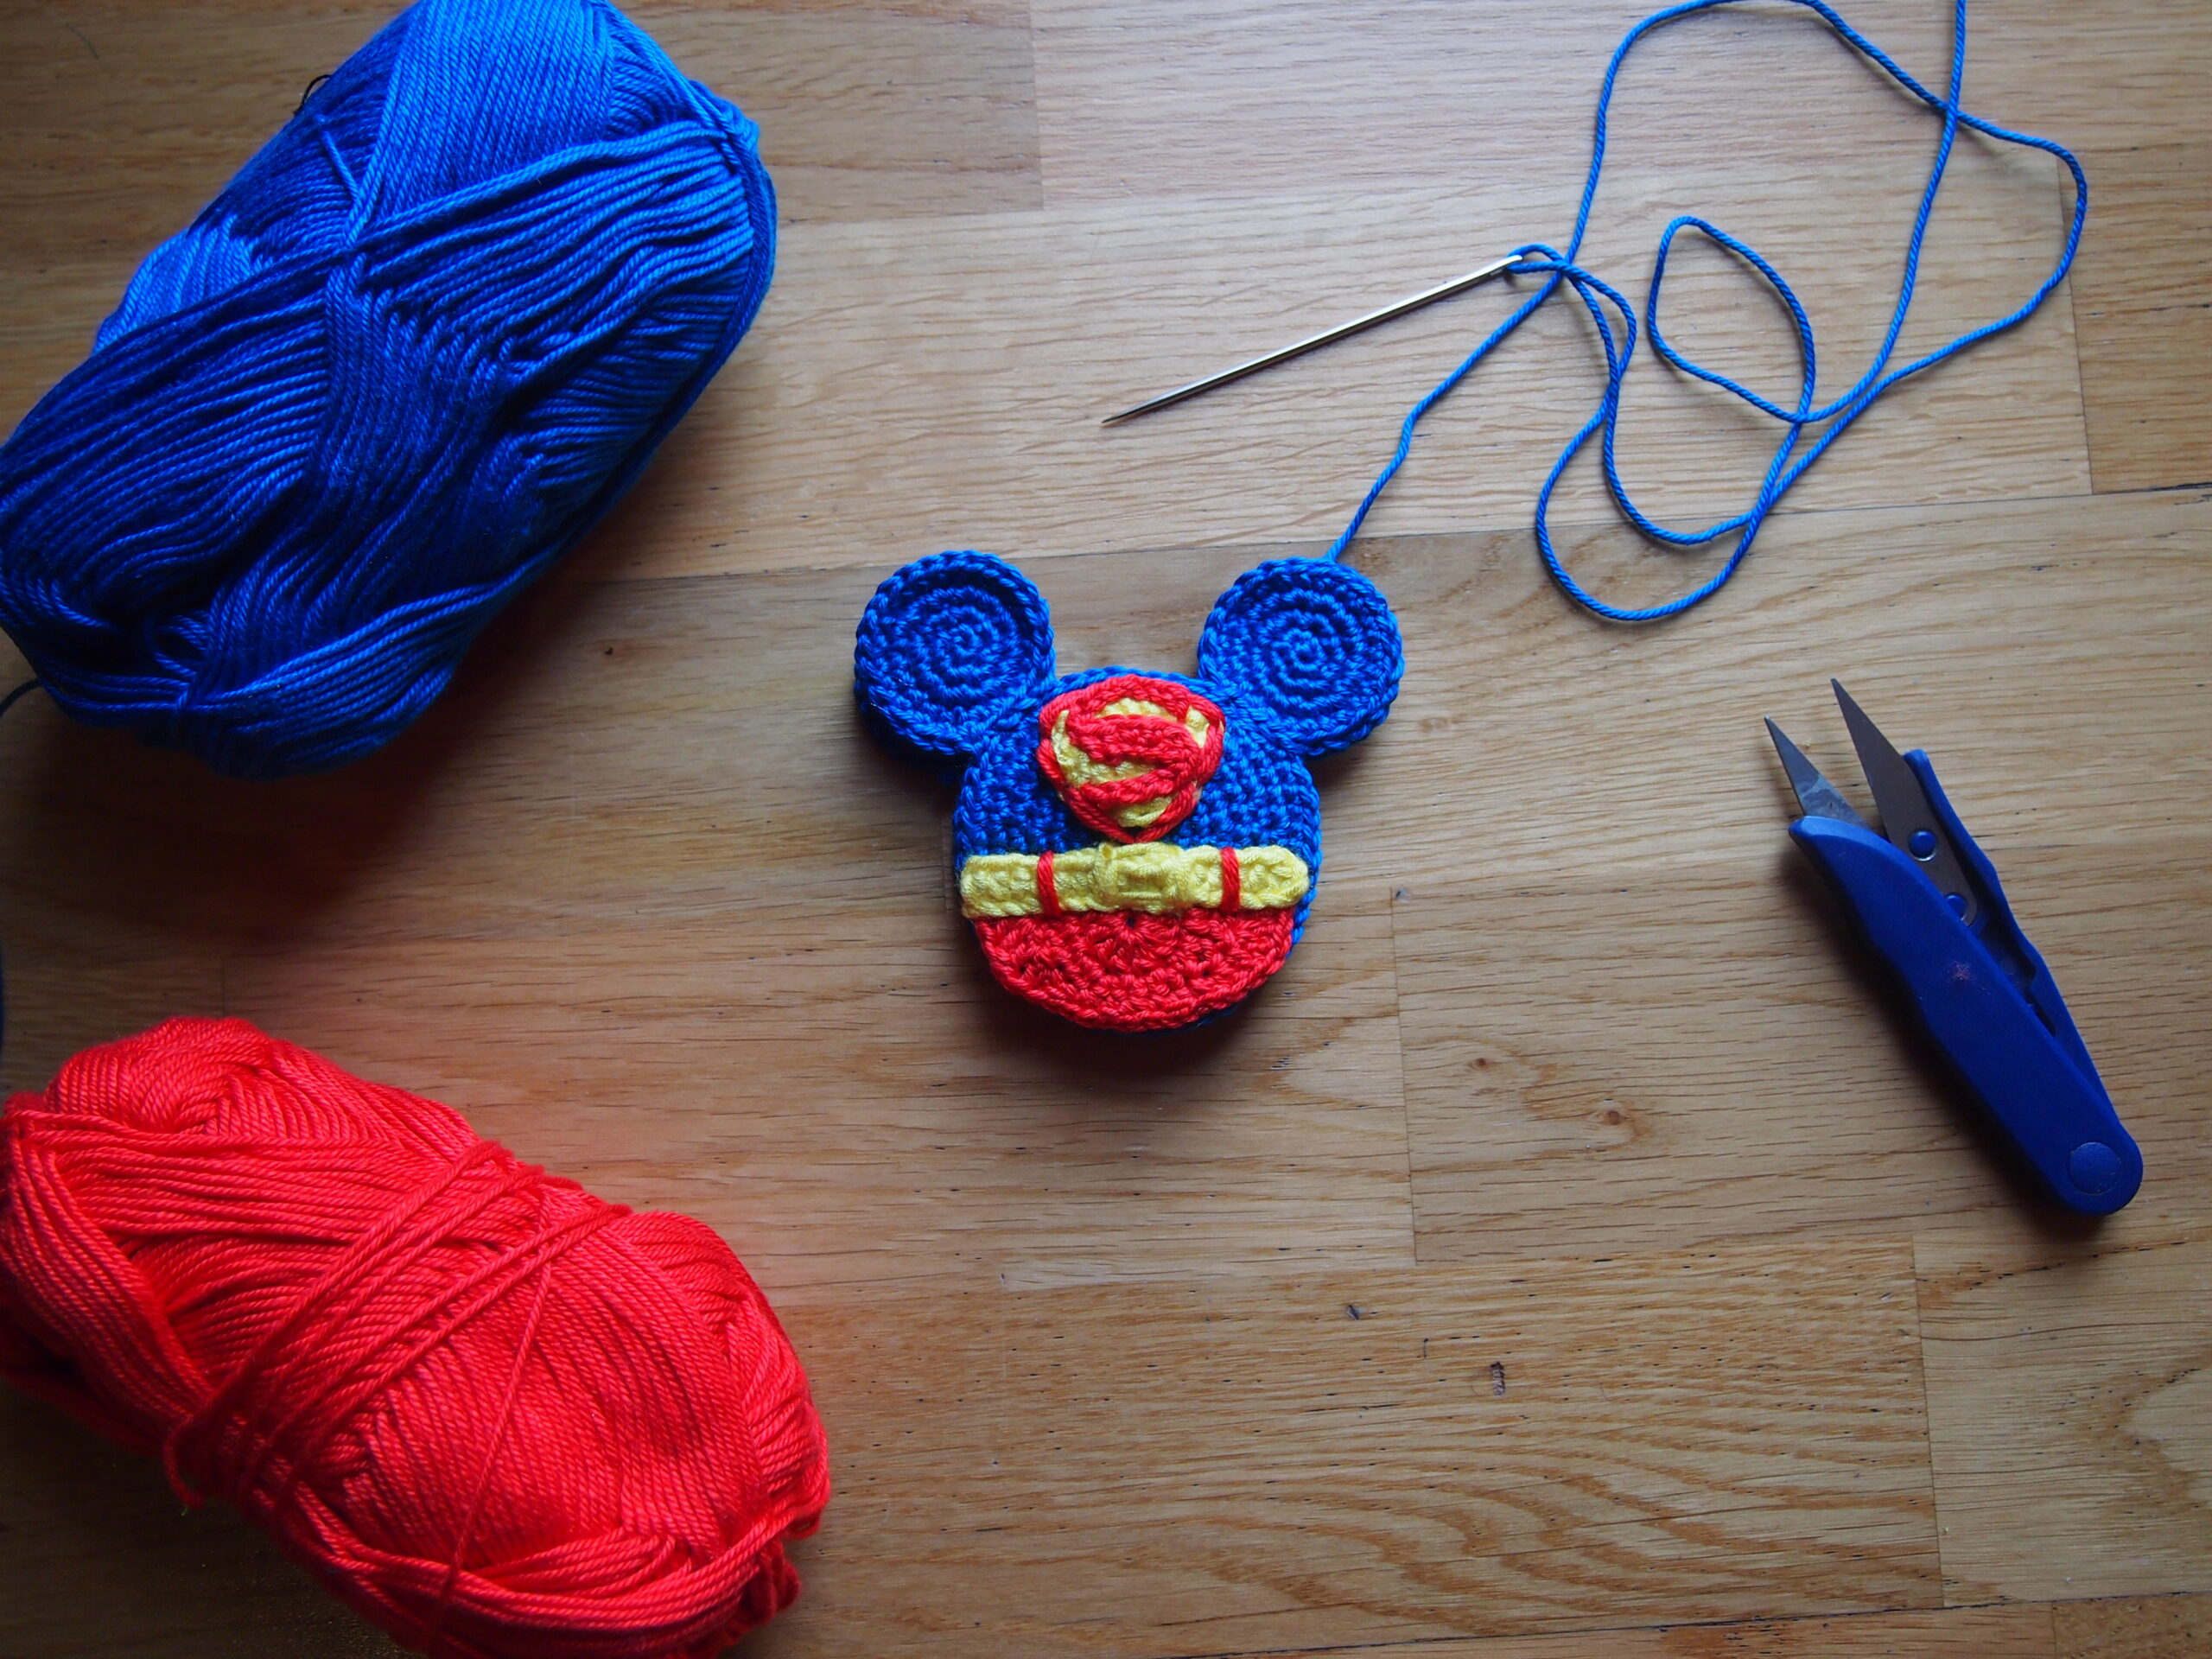
Materials:
- Any cotton 100% Weight/Yardage 50g/137yds: Cascade Ultra Pima Fine, 100% cotton or Schachenmayr Catania, etc.
- Size D/3 (3 mm) crochet hook
- Tapestry needle
- Scissors
Abbreviations (US terms):
ch – chain
st st – slip stitch
sc – single crochet
dc – double crochet
tr – treble crochet
sk – skip
st(s) – stitch(es)
hdc – half double crochet
Skill Level: Easy
Instructions.
Head.
Round 1: Magic ring with blue color, 6 sc in ring and pull tight. (6 sts)
Round 2: 2 sc in each chain stitch around. (12 sts)
Round 3: 2 sc in each chain stitch around. (24 sts). Move marker.
Round 4: sc in each chain stitch around. (24 sts). Move marker.
Round 5: *2 sc in next st, 1 sc in next st* repeat around. (36 sts). Move marker.
Round 6: sc in each chain stitch around. (36 sts). Move marker.
Round 7: *2 sc in next st, 1 sc in next st* repeat around. (54 sts). Move marker.
Round 8: sc in each chain stitch around. (54 sts). Break yarn and fasten off.
Then make the 2nd head.
Ears.
Round 1: Magic ring with blue color, 6 sc in ring and pull tight. (6 sts)
Round 2: 2 sc in each chain stitch around. (12 sts)
Round 3: 2 sc in each chain stitch around. (24 sts)
Round 4: sc in each chain stitch around. (24 sts)
Then 1 sc in next 5 sts and ss. Break yarn and fasten off.
Make 4 ears.
Pants.
Round 1: Magic ring with red color, chain 3, 9 dc in ring and pull tight. Turn. (10 sts)
Row 2: Ch 3, 1 dc in the same st, 2 dc in next st, 1 dc and 1 hdc in the next st, 2 sc in the 3 next sts, 1 hdc and 1 dc in the next st, 2 dc in next 2 sts. Turn.
Row 3: Ch 3, 1 dc in the same st, 1 dc in the next st, 2 dc in next st, 1 dc in the next st, 2 hdc in the next st, *1 sc in next st, 2 sc in the next st* repeat 3 times, 1 sc in next st, 2 hdc in the next st, *1 dc in the next st, 2 dc in next st* repeat 2 times. Break yarn and fasten off.
Emblem.
Row 1: Chain 9 with yellow color yarn, 1 sc in the 2nd st from the hook, 1 sc in the next 6 sts, turn.
Row 2: Sc in the 2nd st, 1 sc in the next 5 sts, turn.
Row 3: Sc in the 2nd st, 1 sc in the next 4 sts, turn.
Row 4: Ch 3, skip the next st, 5 dc together, ss. Break yarn and fasten off.
Letter “S”.
Chain 7 with red color yarn, sc in the 2nd st from the hook, sc in the next 4 sts. Chain 8. Break yarn. Start working on the other end as you can see at the picture below. Sc and ch 8. Break yarn.
Attach your letter as you can see at the picture below and bend the ends so that it takes shape of letter “S”.
Sew it with needle and red color yarn.
Belt.
Chain 18 with yellow color yarn, hdc in the 3rd st from the hook, 1 hdc in the next 15 sts. Break yarn.
Assembling
Straighten every detail after crocheting and before sewing, so that they take a round shape, rather than an oval one. Sew the ears (leave 7 sc between them) using needle and blue color yarn. Straighten the pants so it has the same shape and width as bottom part and sew them with red color yarn. Sew the belt with yellow color yarn.
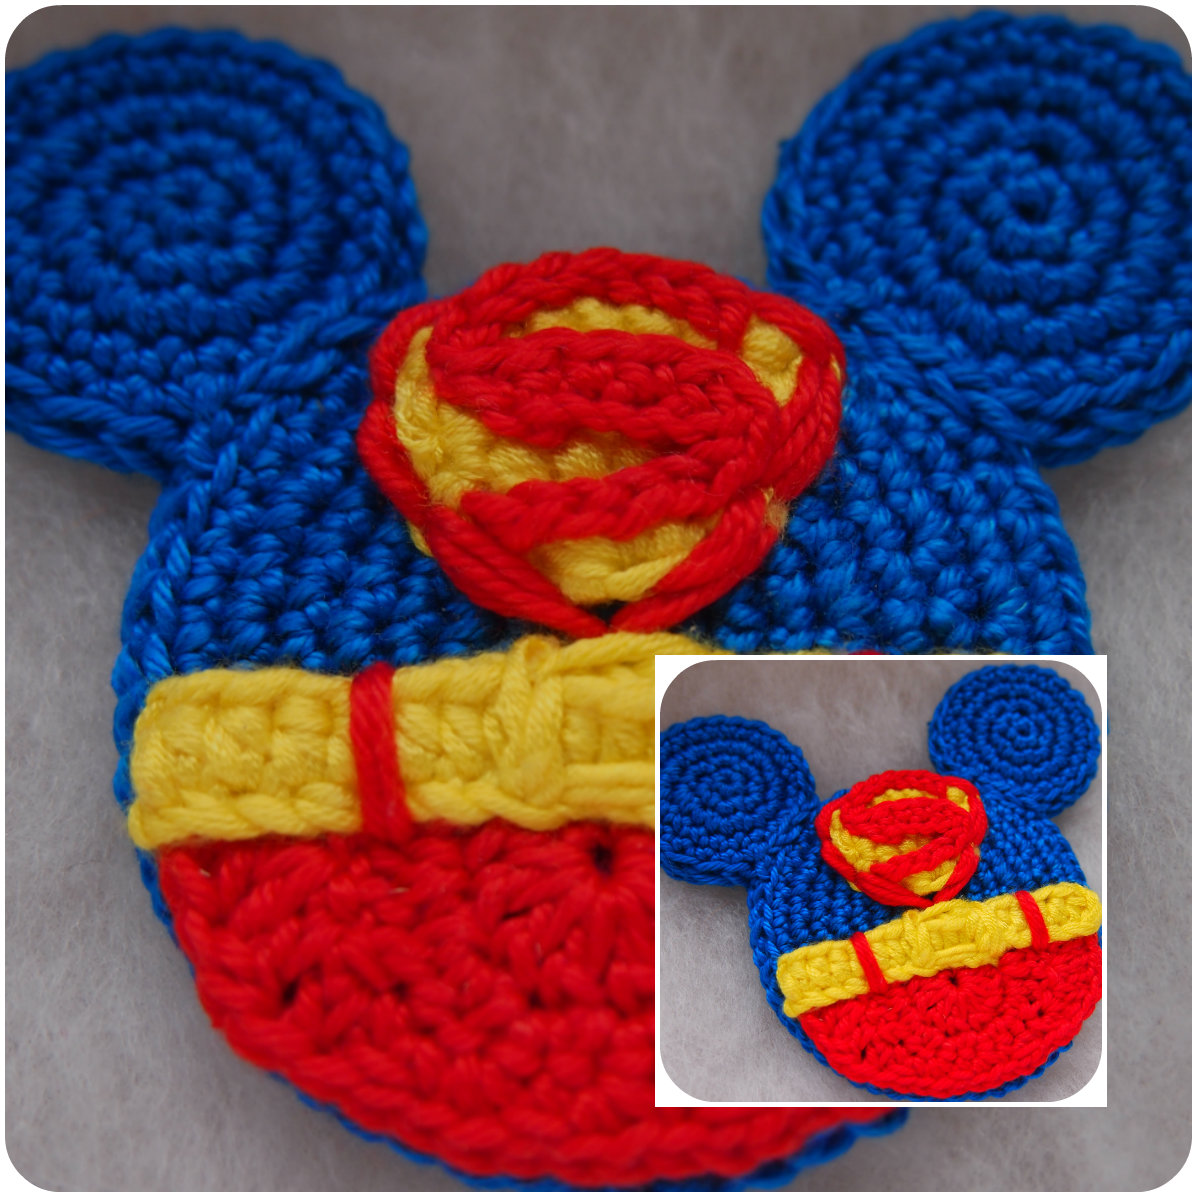
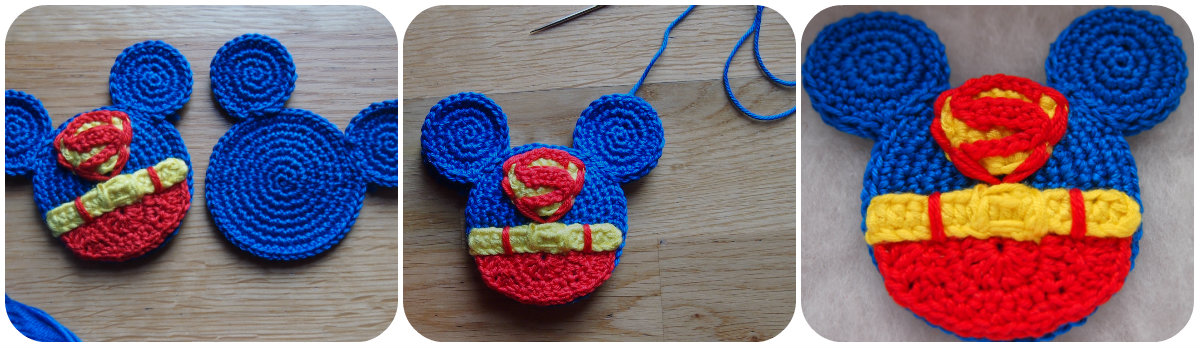
Sew the emblem with yellow color yarn. And then embroider the red border on the emblem as you can see at the pictures below:
Embroider the border twice so that it has more clearly defined border.
Embroider the buckle with yellow color yarn as you can see at the picture below. And then embroider sashes on pants with red color yarn.
So you have 2 heads with ears: one head is with decoration, other is just plain. Then sew 2 heads together using needle and blue color yarn.
![]()

Hope this is what you ended up with! If you need help with the pattern or you have other questions please leave a comment here on my blog!
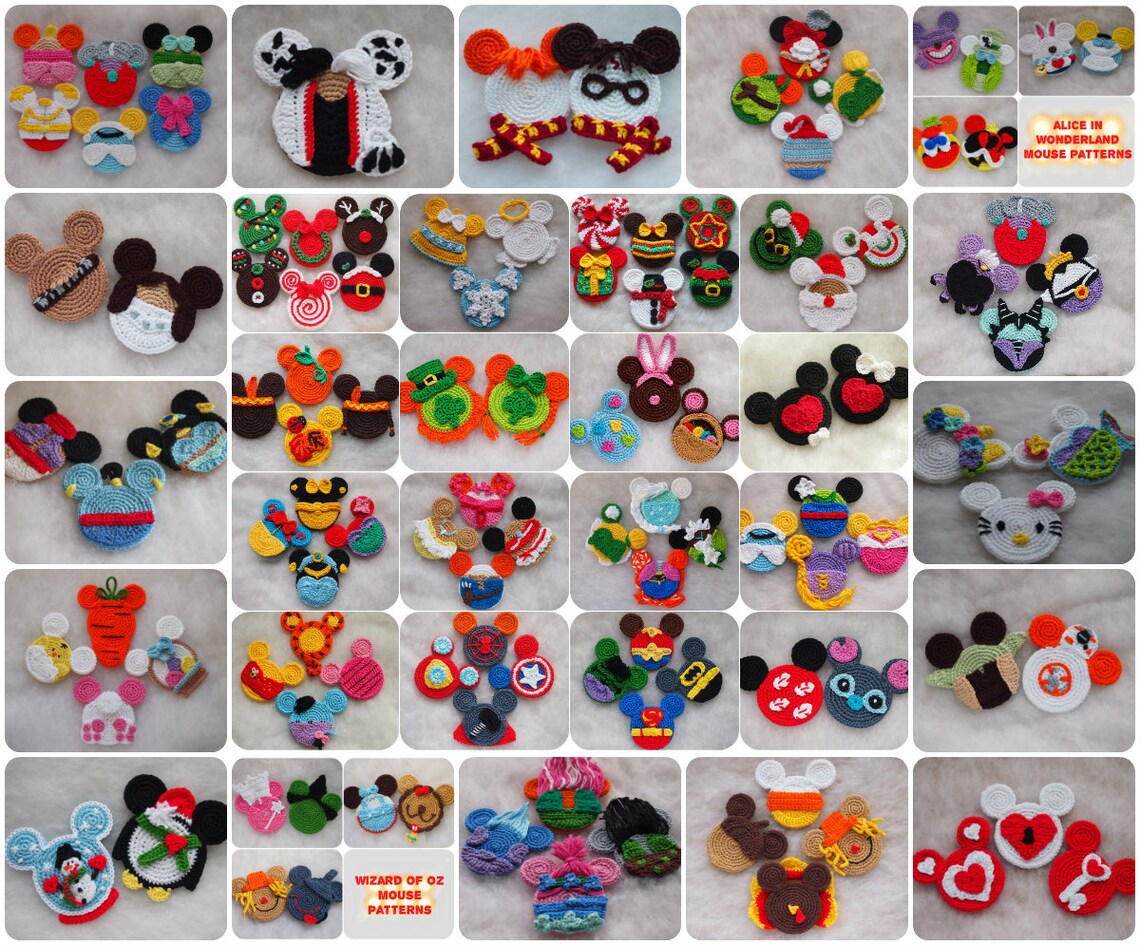
- Get the Pattern Bundle that includes all 111 Christmas, autumn, princesses, Valentine, superheroes ,Winnie the Pooh, Wizard of Oz, Star Heroes and many others Mouse ornaments HERE
Looking for more patterns? Follow me on Facebook, Instagram, and Pinterest! Please share a pic of your finished product with me. I’d love to see it!
